Sunday, 17 September 2017

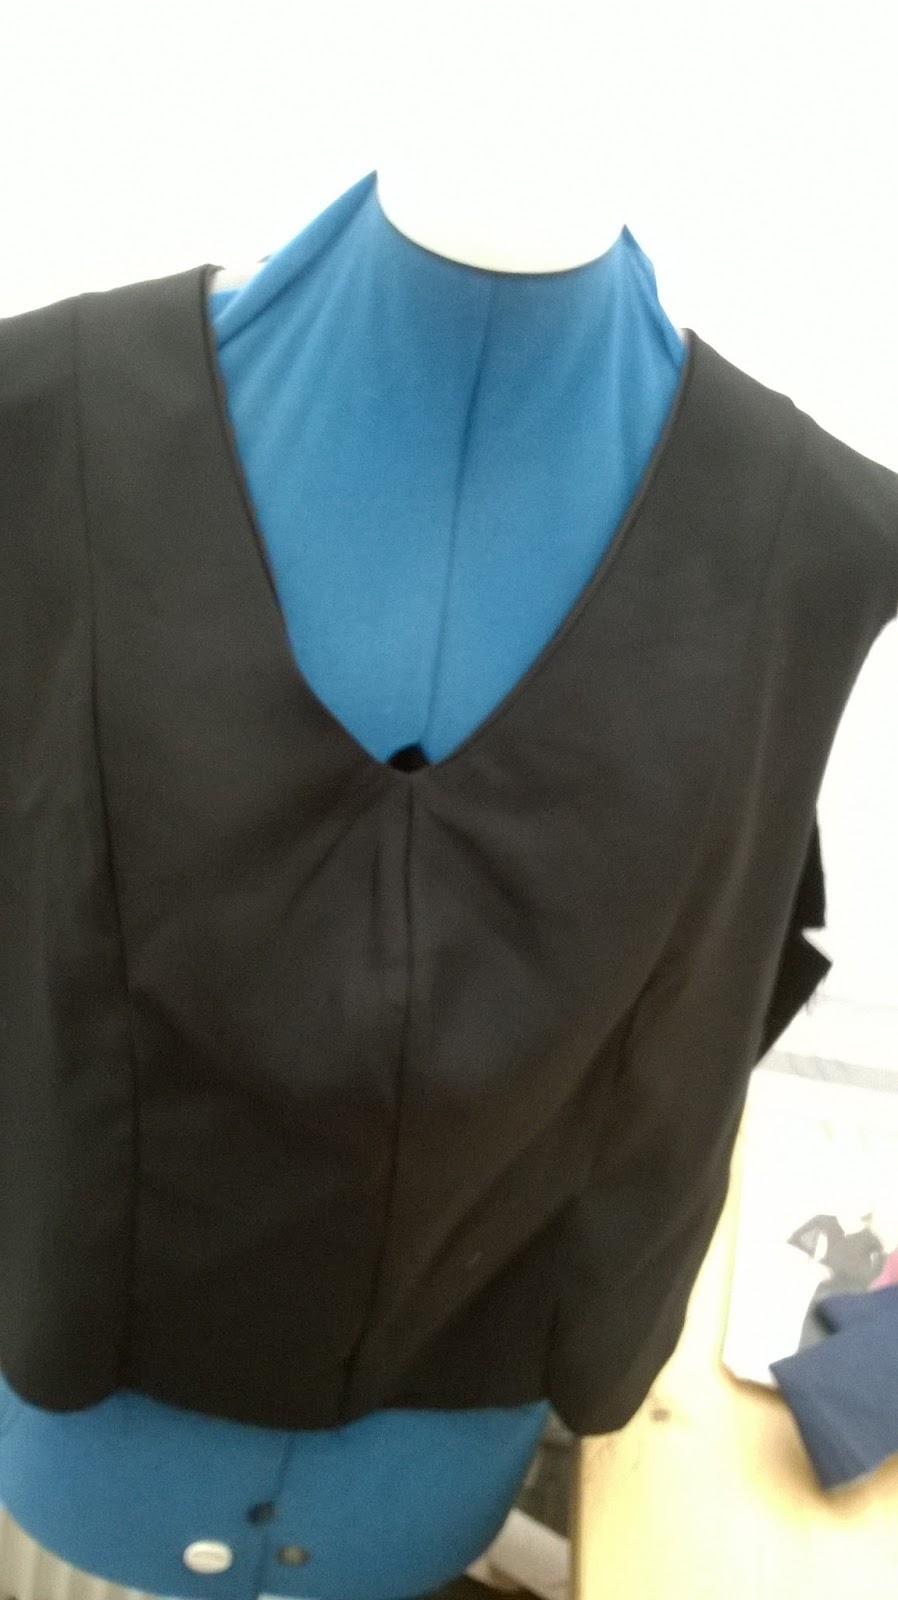
Black top from pattern Sew and Sew B5940

I cut out the rest of my satin backed fabric for this top. This is the same lovely fabric I bought for a song from Ebay and made my cullottes from:
http://brackencrafts.blogspot.co.uk/2017/08/now-thats-what-i-call-cullottes.html

I am not too sure exactly what this type of fabric is called but it has a serious amount of drape to it. I really do love this fabric. I will have to keep a look out for some more although I suspect it will cost me quite a bit more than the 99p I paid for this piece.

This is the pattern I used. I made view B.


So..... I cut out my top and started to make it. Its meant to be an easy pattern and has no zips or fastenings. The buttons on the front are just a decoration.


I thought this would be a quick wearable top to make while I keep on fiddling with my shirt dress:
http://brackencrafts.blogspot.co.uk/2017/09/burda-easy-shirt-dress-part-1.html
I have done a bit more to that which you can read about in my next post here:

the inside showing facing with overlocked edges
The right side bodice front and back joined at shoulders
I decided to overlock all edges because this fabric frays like mad. I overlocked the inside of the front facing aswell and caught it into the final seam where the peplum attaches. You are meant to hand sew this down. I works fine though.

The inside back with the yoke sewn by hand
I did actually hand sew the back facing into place and it does give a nice neat finish but so does overlocking and it was taking me too long to finish this.

I have had such a busy few weeks honestly you would not believe.

Well actually maybe you would😊. Anyway I have not done much other than work.


Now the pattern is meant to have more of a gathered back piece. It just was not wide enough to do that so I added pleats. There was very little extra fabric for any room so this being a pull-over top I was a bit worried at this point but it turns out big enough anyway so thats OK. If you did want gathers though check your pattern piece first and adjust if necessary.
I attached the sleeves as described in the pattern ( forgot photos again), added the flared sleeve frills and I hated the over flouncy effect so I took the frills off. Since they were overlocked on rather than sewn with a normal sewing machine that took some serious careful unpicking. I just could nto see me wearing it with these over flared flouncy gathered frills though.

At this point I should have got some photos to show you but was so desperate to just get this finished I never took them. Sorry for that. If you do decide to make this pattern though be aware the sleeves are a bit OTT in view B. I have not made view A so cannot comment on that.

Its a shame because being two perfect circles means there was quite a bit of fabric wasted by not using the already cut out frills.

Then I neatened the ends of the sleeves by overlocking and added this nice crochet or possibly its meant to look like "tatting" effect lace onto the edge. Thats much more me. Even then the whole top is still a bit frilly. With the sleeves already being flared and puffed at the shoulders I really do not think I could handle wearing this with the flared bits on the end of the sleeves.


Shows the hand sewn pleats at front before adding buttons.
 I even added three gold buttons (from my stash of old buttons inherited from my grandmas and various great aunts). Though to be honest if I change anything it will be those buttons because I do not actually like them. They were available and I think you do need something because you hand secure the front gathers and the buttons reinforce that. Because the fabric is quite heavy I do not think my machine would be happy sewing through the thick fabric with added facing either so I did follow what the pattern says here.
I love the high low hem on most tops and dresses but this is something else. With a belt it can become a steampunk type of Prince Charming top but even for every day it is wearable with black trousers or skirt for the office.


The tail is just fantastic!

And without the belt it is just as wearable!


Yes, this top I reckon I am going to enjoy.


This is the inside of my finished top:


There was a lot more hand sewing that I really like to do because I am not neat at hand sewing so I find it very difficult to get a good finish. What I did do with this garment which is unusual for me is lots of presssing and ironing and steaming of seams which could be why it has turned out to good. So thats a lesson to me!


To do the edge of the peplum I decided it would be difficult for me to get a good finish with a folded over hem - not sure what the proper sewing term is here. I also did not want to overlock and just fold it once since you would be able to see the overlocked edge. I am sure some RTW stores would sell it like that but I really want this to lok as good as I can make it because seriously I just love this fabric and there are only a few scraps after making this.

So... I decided to have another got at a lettuce or rolled hem although because the fabric is not stretch it does not actually look like a lettuce but it does give it a nice neat finish.

Every time I have done this before I get something go wrong and although it eventually looks passable never has this worked for me before. This time I did not look at Youtube or the machine manual for help. I did it gradually. First I remember how to disable the bottom cutter. Change the lever from normal to R for rolled hem edging and then return to usual place and I remove the left thread. What I forgot was the fact the left needle must now be removed. I forgot that and it took a few runs to work out what was wrong. This needle must interact with the rest of the sewing mechanism despite not being threaded! I need to have a proper look at how this thing works but thats for later. Right now I need to finish my top.


So I have a serious shortage of tea towels right now. I was going to buy some but had an idea. I am still fidling here to make a rolled hem and seriously do not wnat to muck up this top since its looking good now. I decide to cut up some new curtain fabric. I thought it would come in useful when I bought it but still have no idea what for and its just there taking up room in the stash. So practice and make tea towels. The photo below shows the different edges until I got perfection. I eventually remembered to actually take out the left needle and finally found a good tension. Tried it out first on the two frills which I never added to the sleeves. (Incidentally my other half has now pointed out that they would give this a "Shakespeare" look so I may try making another top with frilly sleeves after all.)
I now think perhaps I shall use the spare frills on a different top so they are definitely worth keeping and now have a ready finished edge as well.

So here are my tea towels. You can see a gradual change to rolled hem and this was also useful to set the overlocker back up to overlock afterwards. And I even oiled it! Well it worked hard on this heavy fabric and I decided to give the poor machine a treat. I had to clean all the lint out after this anyway.


I think this has made a lovely top and will work really good for winter because this is a heavy weight satin fabric although I used the opaque side. I do like the final top. I reckon I can even wear it for halloween!


The black leather leggings are here:
http://brackencrafts.blogspot.co.uk/2016/03/24-red-lace-hoody-burdastyle-012016.html

The bats leggings were RTW from H&M last spring. They would be easy to make though since ebay is full of "halloween" fabrics right now!

Thanks for reading. 
Bracken

Thursday, 7 September 2017

Dotty flared trousers with twisted seams


I have already made two versions of this Burda pattern. See here: http://brackencrafts.blogspot.co.uk/2017/04/98-and-99-sports-top-and-flared.html
and here: http://brackencrafts.blogspot.co.uk/2017/05/mmm17-day-24.html
Both worked pretty well though I have since wished I had altered the direction on the pinstriped fabric to make a feature of the different directions. Hindsight is a wonderful thing. Still they make a great pair of work trousers and few people have actually asked where I bought them so they look good enough to be RTW which pleases me. The other pair were simply an experiment which used up lots of scraps and worked out wonderfully. They are a very favourite pair of trousers. I even wore them out to lunch on my birthday. I love them so much. They are one of the big successes from this sewing journey.


This pair however are not as good. I was really careful to put the pattern pieces along the grain line etc but still the seams are twisting. I do not know why. If anyone reading this does please tell me because I would like to never make this mistake again. Luckily they are still wearable because you cannot really see the twists with the very busy dotty pattern but I am not happy with them. They will probably become "lounge" trousers which will mean this does not matter. Autumn is with us in the UK and its getting colder in the evening so they will be great for just lying around slobing and watching TV. Also I will be able to pop out to the shops and not feel like I am wearing pyjamas. So not a complete disaster. I almost felt like claiming they had "engineered twisted seams" like the 1990s Twisted Levis, but maybe that is pushing my luck a bit.

 You can just about see the twisted seams here:

 
Luckily the  very busy print hides most of the seam error


You can see the seam problems here

 I also added a yoga type of fold over waist band to these so they are very comfortable which makes them ideal for slobbing around in! If you want to add this kind of waistband it is simply a wide strip of fabric. You join the ends together to form a circle, fold the fabric in half, keeping your circle and sew with both edges together to the top edge of your trousers ( or skirt). This forms a neat fold over top for your trousers.
Inside  and outside of fold-over yoga waistband
These trousers do go very well with my favourite wrap top made here:


I am thinking, despite the obviously second rate sewing here, that I will enjoy these all the same! Despite not being even remotely perfect, these are as good as some RTW, they make excellent yoga/lounge pants and if nothing else they are unique. And you can only see my dodgy twisted seams if you really look close and most people don't.
Thanks for visiting my blog,
 Bracken


Saturday, 2 September 2017

Burda Easy Shirt dress - part 1

I bought the magazine for this pattern ages ago now when it first came out. Sadly, Burda Easy is no longer available in the UK. Shame because the current magazine is looking good so I may have to buy a German copy. I was hoping that the "Easy" version of the magazine would have better and more detailed instructions.
WRONG!
But it does have all the patterns on separate sheets so you do not have to trace them which saves time. This also means me buying a German copy is viable because I cannot follow most of the instructions anyway.

Having said that the instructions for this particular pattern are not too bad. You do still need to use a bit of logic to work the correct order out for some bits but that's the fun of sewing Burda.

Anyway, I cut this out months ago. Sewed it slowly because its not as easy as the magazines suggests. It would have been easier if I had not used a stretch (woven) cotton, but there, I did. Next attempt - and yes there is going to be a second attempt because I bought a lovely printed cotton for my next attempt - is not a stretch cotton so should be easier.

The pattern does not require you to interface things like the pocket flaps but I could not get a reasonable finish. Its the button holes mess it up because the machine foot seems to ruck up the fabric and make it look rubbish. In the end I have used a small square of interfacing inside the pocket flap and that sorted the problem. Luckily I had some spare fabric to make a new flap after I messed the first one up!

As you can see despite me having been sewing this for 3 weeks now it is still unfinished. I tend to find usually that I sew and sew and get very tired and then I muck things up. Sometimes it does not matter and is easily hidden but with this garment I want a reasonable finish to wear it to work. So this time I have deliberately taken this very slowly. I have done a few quick and easy projects in between to keep me going but I have seriously taken my time over this shirt. And I needed to.

I have yet to do all those front band buttons. The one side of the front band will not quite lie flat but I think once finished it will be difficult to see and it is my third attempt at sewing it so it will have to do now. I need to repress the whole thing ( after leaving folded for a whole week) that will help to make it lie a bit flatter - and I have a brand new iron for that -Yay!


I bought it reduced in Asda and its pretty good so far. It was £45 down to £20, Bargain.Its a Morphy Richards Breeze. I was finding the old iron left black bits on the fabric. They would scratch off but I would rather they did not happen in the first place. Anyway, the new iron is just so much better steam-wise. I know you can clean irons etc but the old one is at least 10 years old anyway so needs replacing. I have kept it so that when ironing on interfacing I will use that and I may then not get loads of glue stuck on my new one. Also I got a new ironing board cover so I am all set up for some serious pressing. Its not shown above being just a boring ironing board cover! The picture is of my new iron on a normal table. I do not iron on there obviously. I just wanted to show you my lovely new iron


Mistakes so far: I never stay stitched the neck. I am a little worried about this but will not know until I attach the collar it it is going to be a problem. When I started I thought because the pattern came from a magazine called Burda Easy that I would make this quickly.

Well that was definitely a mistake!

The I did the pleats on the back:


 They look OK really but while at work I have observed lots of people wearing shirts and most shirts seem to have the pleats at the centre back not where I put them. For this particular garment they will remain where they are now because by the time I had realised this I had already constructed the rest of the shirt body and added the sleeves and top stitched as well and besides me being lazy it will just mark the fabric and possibly trash the entire garment if I start ripping it all apart. Something to remember for next time.


The hem is not brilliant either but I think I will get away with that also. I had a look at several of my RTW shirts and lots have uneven hems some worse than this so I can live with that for this make. I need to slow my machining down next time I make a shirt hem.

Probably I could have hurried making this a bit more but my PhD viva is in just over a week and I am also working fulltime. I need to spend all my spare time doing revision because you only get one shot at passing your viva.

Also I want this shirt dress to work out well and be wearable and not look like it is home made. Lots of my early makes are obviously me-mades. And yes there is a charm in that but I really want a more professional look for work. I start a new job the day after my viva ( 13th September - usually I find the 13th lucky not unlucky possibly because my brother was born on a 13th) and I really want it to go well so wearing an obvious me-made is simply out of the question. I am hoping this shirt dress will look good enough for my new job.

Hopefully next week I can show you how it turned out. Assuming my neck has not stretched too much I should be ok attaching collar and cuffs - may just need a slightly bigger collar if necessary but its do-able and I have extra fabric for it if I need to do that. Fingers crossed for the front buttons working ok!
You can read part 2 of making this shirt dress here:
http://brackencrafts.blogspot.co.uk/2017/09/shirt-dress-part-2.html
 
Thanks for visiting my blog
Bracken