
 When I made this shirt I was about to go away to Somerset so
originally
intended to take a photo of me wearing this and update then and it was
set to go live in the future while I was away which is a Blogger
function I do not usually use. However it
has been well publicised that people get their homes burgled when doing
such things so unfortunately until now there has been no picture of this
garment on me. Well here are the photos of my lovely Vivienne Westwood
top.
When I made this shirt I was about to go away to Somerset so
originally
intended to take a photo of me wearing this and update then and it was
set to go live in the future while I was away which is a Blogger
function I do not usually use. However it
has been well publicised that people get their homes burgled when doing
such things so unfortunately until now there has been no picture of this
garment on me. Well here are the photos of my lovely Vivienne Westwood
top. 
 I found you need to tie this to one side else it splits at the front. Other than that its really easy to wear. Its a very comfortable top though not I reckon useable for working in a corporate environment which is a shame. Its great with jeggings and jeans tho!
What I also never realised till I actually tried this on is its a hoody as well!
Showing how the hood works was not so easy in the high beach winds on Westwood Ho!in Devon, so I got this photo later to show you.


 |
| Main body of shirt |
 |
| Holes are the armholes |
 |
| Ripped edges so no hems as such |
 |
| Line ripped edge to where edge of sleeve will be |
 |
| I lost my pins so used weights. |


 |
| Yoke and pocket and button facing |


 Used self - bias binding to bind inner sleeve holes - Very neat finish will have to do in other garments!
Its coming together well. Just need to do the buttons now:


Everything was really good until I went to make my button holes. Now here is my practice button hole using my automatic button hole foot.

Excellent! Just about perfect.
So why did it do both my REAL buttonholes so badly?
Its not the first time I have had this happen. Seems I can sew the mock-up no problem but when I start to sew the real ones it goes wrong. I un-did one of them 3 times and in the end settled for not quite right but hopefully they will not just fray appart. At least once they have my blue buttons ( found in my Great Aunt's button stash box) which hide much of the problem - they look ok but seriously not very good.
In fact I am so sick of this next time I intend to use my very old Brother and do manual button holes since at least I can usually get them to work. They may be hassle but I can control much better what is going on with them. This auto button holer seems to lose the plot half way through and finish it off before its sewn the half of the second side. Well I give up. Best to just do them with my old machine from now on.
Other than the button hole problem this shirt has tension stitching problems which I could not sort out. Even got the machine manual out so maybe its a fabric choice problem. Either way the stitching is a bit dodgy too.Not sur eif its the top thread too tight ( probably) or bottom too loose but I could ot get it to work right.


Just for the record we stayed in a lovely little cottage on Exmore in Somerset and the views are amazing. We went for a cottage because Reggie dog is nearly 15 years old so needs a bit of comfort and would struggle with a tent or caravan especially if it rained all the time. The cottage was lovely except for the very politically incorrect ad very 1970s humour toilet which I just have to show you:


I absolutely hate this kind of 70s "humour". Its dated and sexist and only funny to over 70s I think. Horrible!


Other than that the cottage was qwell equipped and a nice place to stay. Here are some views of the local Exmore area:


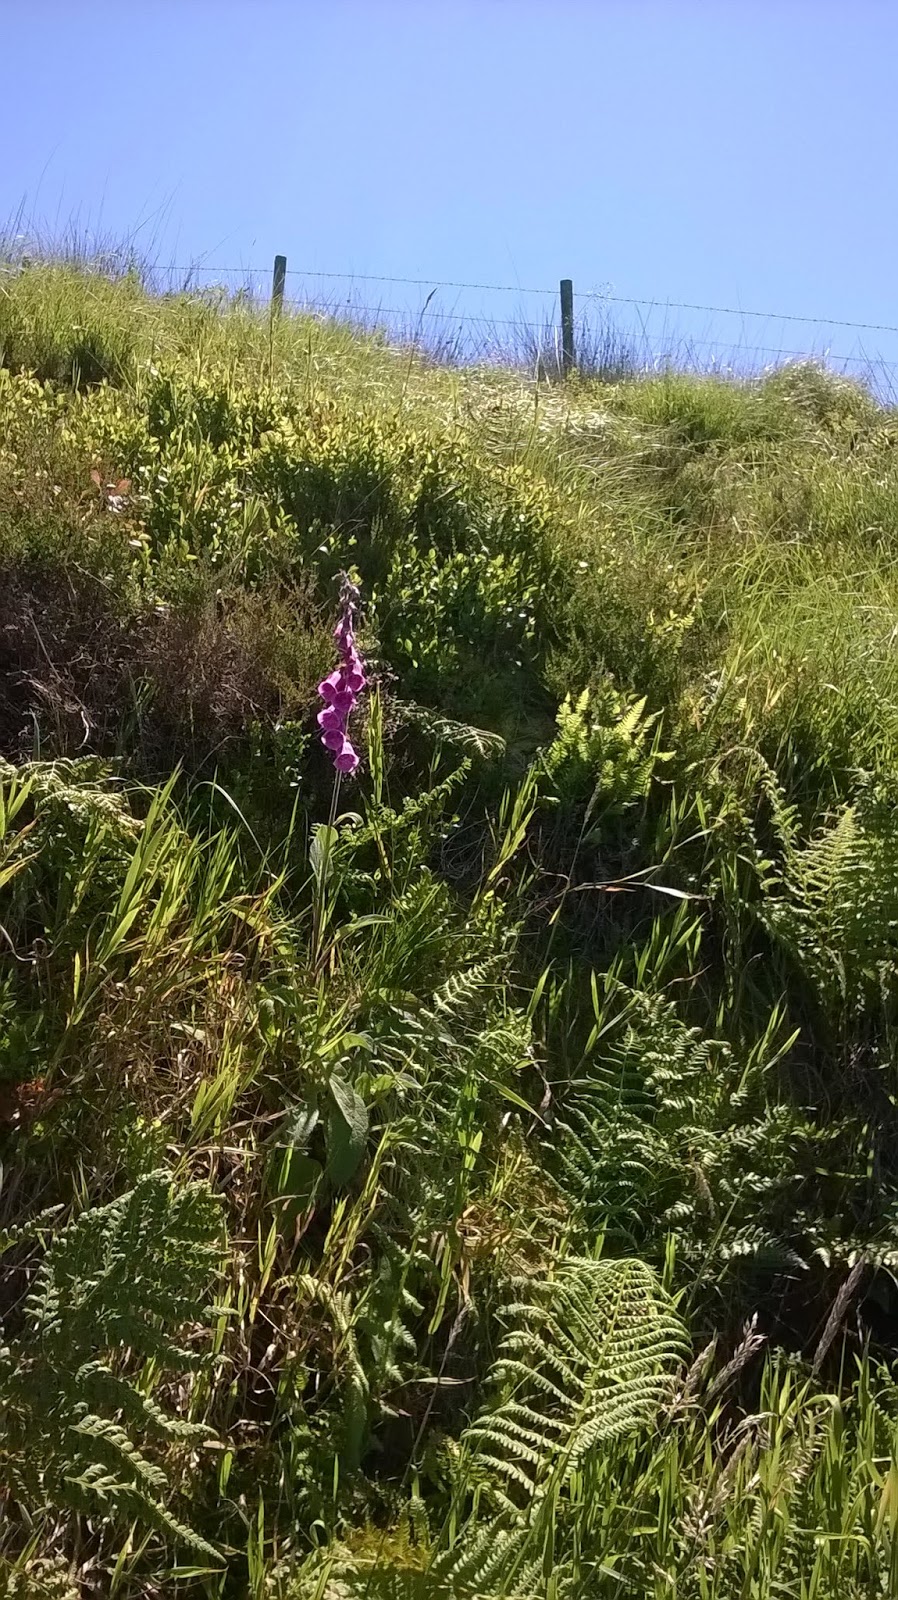 I really do love foxgloves. Our current garden occassionally has a few which seem to just arrive, but I find it difficult to get them to come back the next year.
I originally wrote this post before going away and wearing this and I
thought it is a lovely top and I seriously like this, but I was not so
sure I will make more just because I thought it may not be that wearable
in real life but its simple to make so maybe once I discovered how to
wear it I will want to make more. This top though I love!

Well as it turns out I am definitely going to make at least one more and
maybe in a more interesting fabric because I originally thought if it
had for example skulls or flowers I may not handle wearing this.
Now I
am pretty sure for "play" I will love another one so thats on my list of
need to makes now.
Thanks for visiting and if you like the design I serously would suggest making one.
Link to pattern is in my previous post on this shirt.
Link to pattern is in my previous post on this shirt.
Bracken


