There are several objectives behind this make.
- I have decided if I am going to keep on blogging I need to be more part of the sewing community and less a lone sewist.
- I wanted to take part in the April challenge with The Monthly Stitch.
The problem is I hate wearing florals so what can I do?

- I have already defined my need to be more authentic in my clothing makes so that I actually want to wear the stuff I am making.
- Lastly, I want to make a coat for spring/summer.
I have loads of upholstery
fabric in my stash. Some is very heavy weight but others are lighter
weight resembling cottons and silks. Most of the pieces I do not know the fibre content
though. Lots of upholstery fabric is based on floral designs when you look at it closely so I can use this and take part in the challenge. Then, I went through all my huge pattern collection only to decide I
do not have enough of the fabric I want to use for any of the patterns
so I decided to keep it really simple and self draft. I have made this
style of coat several times before so although I am not the best sewist
around I am resonably confident I can pull this off.
My outside fabric is a silk like brocade ( I think that is how it would be described) in a dark mustard with burgundy and forest green spots woven through it:
I cut the main
fabric into rectangles and decided I want the coat as long as possible -
like a duster coat but no back slits since I am not actually a cowboy
so will not be using this on a horse!
I folded the fabric piece in half and then in half again giving four thicknesses with the selvedges together. If this is then cut down the side where there is NO OPEN EDGES this gives me the two front pieces and one back piece. I made the front pieces slightly wider so there are cut on front facings.
Here you can see where the neck is and the shoulders are shaped. The neck is the bigger shaping at the bottom!
Now I needed to make a decision because if I want a hood, and I do, I cannot get both the hood and sleeves from what I have left of this fabric so what to do to make this work? I decided as follows:
I cut a reasonable hood from the
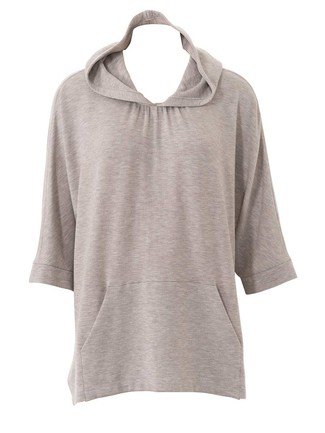
Burda style 01/2016 oversized hoody pattern. Having made this pattern several times now I know the hood is a reasonable size. I hate jackets with small hoods because I like to be able to use them when it rains - which is pretty often in the UK. This left me a piece of fabric for the sleeves below:
That did not quite leave me enough fabric for sleeves (all that was left is shown above) and it makes little difference whether I follow the grain of fabric and use the narrow bit, or go against the grain and use the wide bit. I held the fabric both ways and then made the decision to break all rules ( well this IS my design after all so there are NO RULES) and cut the sleeve bits as wide as posible which means against the grain. Next, I have this faux suede in turquoise which kind of co-ordinates so I cut two traingles from this to make the sleeves the right size.
These are my sleeves:
I cut the mustard spot fabric double so I have a centre fold and the suede single so I will have a seam underneath the sleeve and another seam where the suede joins the brocade.

This leaves me with two smallish bits of fabric that can maybe become patch pockets so I keep them safe till I decide what exactly to use them for.
Now for the lining:


This is my floral bit: Its a sort of gold shimmery fabric with a print that looks like embroidery in a floral design. I think it will make a nice lining as well as make the coat reasonably warm without being too heavy. I cut identical parts for the front and back and the hood but when it came to the sleeves I have again run out of fabric. Or I do but really was hoping to make a matching skirt so I have reserved a small piece for this. I was hoping though have enough to make turn back cuffs in the floral fabric to take advantage of the loveliness of my fabric then I can co-ordinate it all together. However when I measured I did not have enough without considerably
narrowing my sleeves so I had to abandon that idea and just go with
normal sleeves. I do not think it will really matter that much and I would rather have the matching skirt. So because of keeping this small piece for a skirt I am now going to use regular pale green lining fabric for the sleeves since there is really no need for my sleeve lining to match the reast of the coat lining where it will not be
seen. So I am
going to cheat a bit here. I do need to line my sleeves because my fake suede has a kind of PVC
backing which I think is probably waterproof but will not be nice to
wear next to my skin.
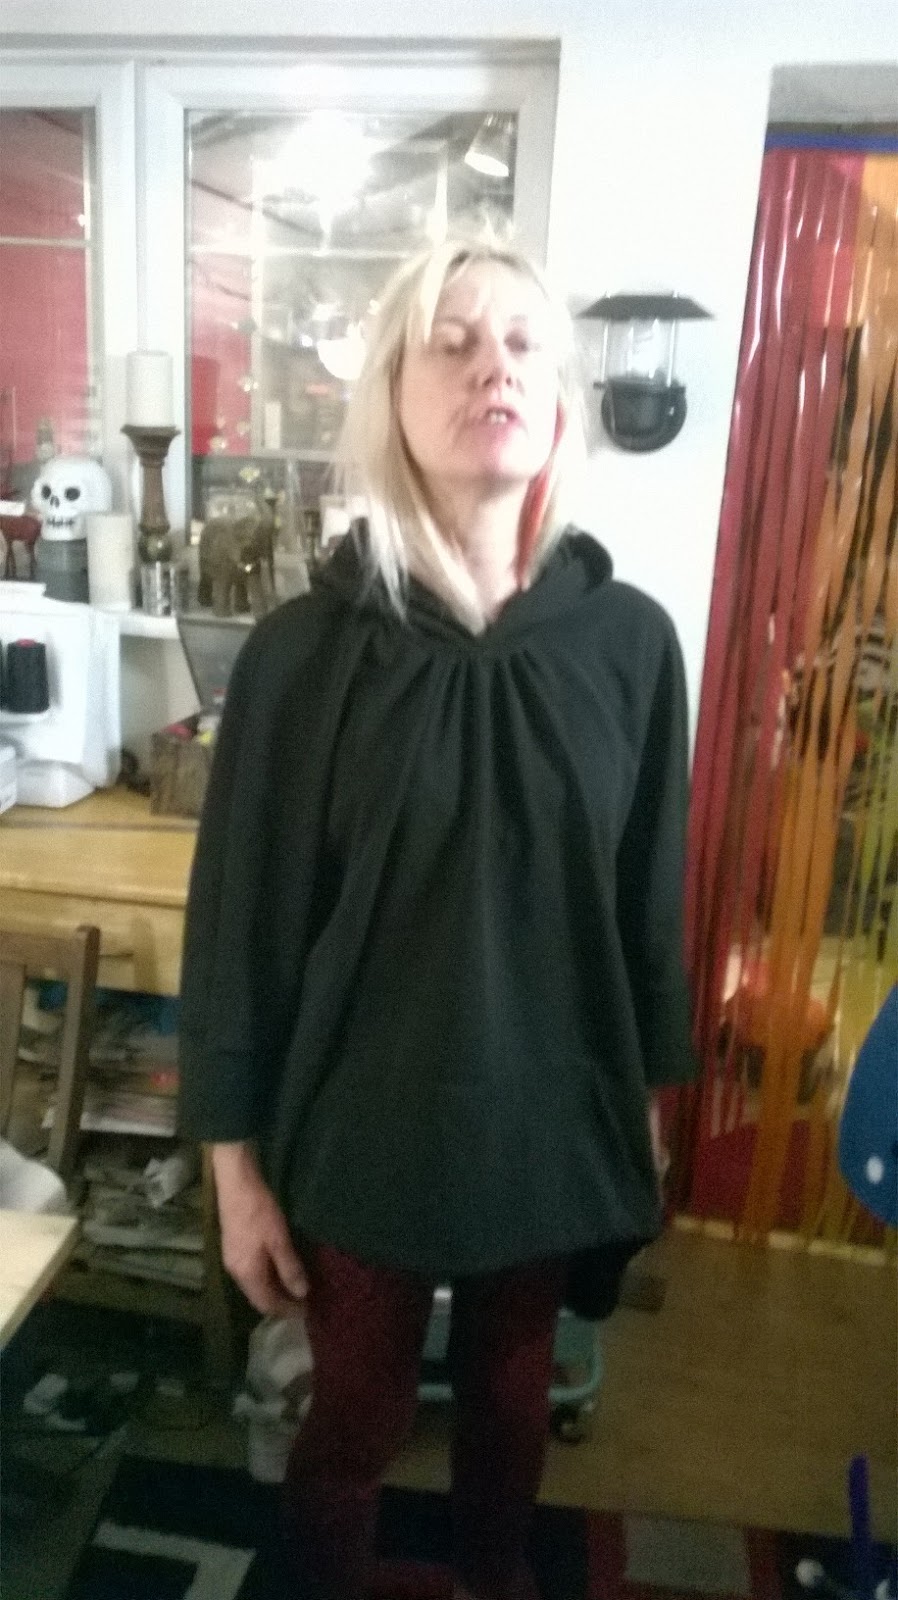
So having cut everything out I got to sewing up. First the shoulders which I added some top stitching to. Partly to strengthen them but also as decoration. Once the front and back were together I hung onto Harriet ( my dressform) and decided I had cut my neck far too wide. To remedy this I added a back pleat. Maybe should have ironed it! It looked fine at that time but read on. Then I sewed up the back of the hood and did the same with the lining. Then I pinned the hood and hood lining onto the main body fabric. I pinned these in place and decided where I want to put my button holes which I am going to use for my pull-cord on my hood.
Not quite even on each side of the pleat!
I have never used my automatic buttonhole foot before so this next bit was a big learning curve. I did several test buttonholes then went for it.


Sadly one of them is slightly off-centre which won't matter but the
other is incomplete. I do not know why but it is. I will repair by hand
at the end rather than try to redo it. I have no more of either my
lining or main fabric for a second hood so this I will have to live
with. I doubt it will be noticeable to anyone but me anyway.
Not enough fabric for the turn-back cuffs - see below!

Next sewed up my sleeves so that each sleeve has three panels and is the
right shape. At this point I got into trouble. The first sleeve went
together fine. No problems whatsoever. The second sleeve was a complete
pig and I really do not know why. The fake suede which has a PVC backing
decided to ruffle up every time I tried to sew it. I wondered if the
fake suede has a direction and had I cut it the opposite way but it did
not seem to have and I do not know if I cut it differently. Bearing in
mind it is similar to fake leather ( or real leather ) I really do not
want to sew and then unpick and re-sew too much. As it happens the
stitches I unpicked do not really show on the right side but I wonder
about how the fabric will wear having been sewed and unpicked several
times. Anyway, having re-sewed several times and tried tissue paper which
did not work and changed the tension which did not work, I eventually
got it sewed up. I have about 20m of this suede so perhaps I should buy a teflon coated presser foot. Or maybe I should just sell it on Ebay! Anyway after finally getting the sleeves sew together I cut the lining for the sleeves since now I finally have
what I hope to be the complete sleeve shapes.
Then inserted the sleeves
onto the shoulders of the main front/back piece. I hung the whole thing
back onto Harriet and checked it looked reasonably OK.
I think it could be wearable. I sewed up sleeve and the side seams and then the
sleeve lining seams. Then I attempted to try on to check the sleeve
lengths and cut the edge off the sleeve linings to shorted them a bit so
they will be inside and not seen. I attached the sleeve lining to the
edge of each sleeve and put the whole thing back on Harriet inside out.
I pinned the sleeve linings to check they would ( hopefully!) go in OK.
Then I sewed up the front and back lining pieces and zigzagged to stop them fraying since this fabric frayed lots.

The main body fabric I skipped zigzagging since I decided it will not be seen and I really do not think this is going to be a heirloom jacket and I want to complete the challenge. I know its a total cheat/bodge.............whatever! Anyway I did zigzag the lining. I am now wondering if my machine may have a problem too since when
zigzagging it is skipping stitches but I will just have to wait and see
on that score. Eventually, having re-started and re-set my machine I got the zigzagging done. This model re-sets itself each time you turn off and on which is very handy if you have been playing around with the tension. I pinned the lining on top of the main body on Harriet and had to add a centre back pleat here as well. At this point I tried on and showed to my partner who said my (outside - mustard dotty fabric) back pleat looked a bit funny. I was worrying the extra fabric in the lining would make the whole back stick out weird but apparently that is not the problem. So now I did not know what to do next.

This back pleat on the lining is inverted to the main body bit and I think it looks better.
I am now considering un-doing my original back pleat and hood and re-doing it the other way round. Maybe sew it down so it meets the waist? I am never sure what is an inverted pleat or what isn't but either way I think if I invert the type of pleat I have made, it might look better. The lining back pleat does look better I think than the main body back pleat. Could be the fabric though?
TO BE CONTINUED:
Thanks for reading,
Bracken