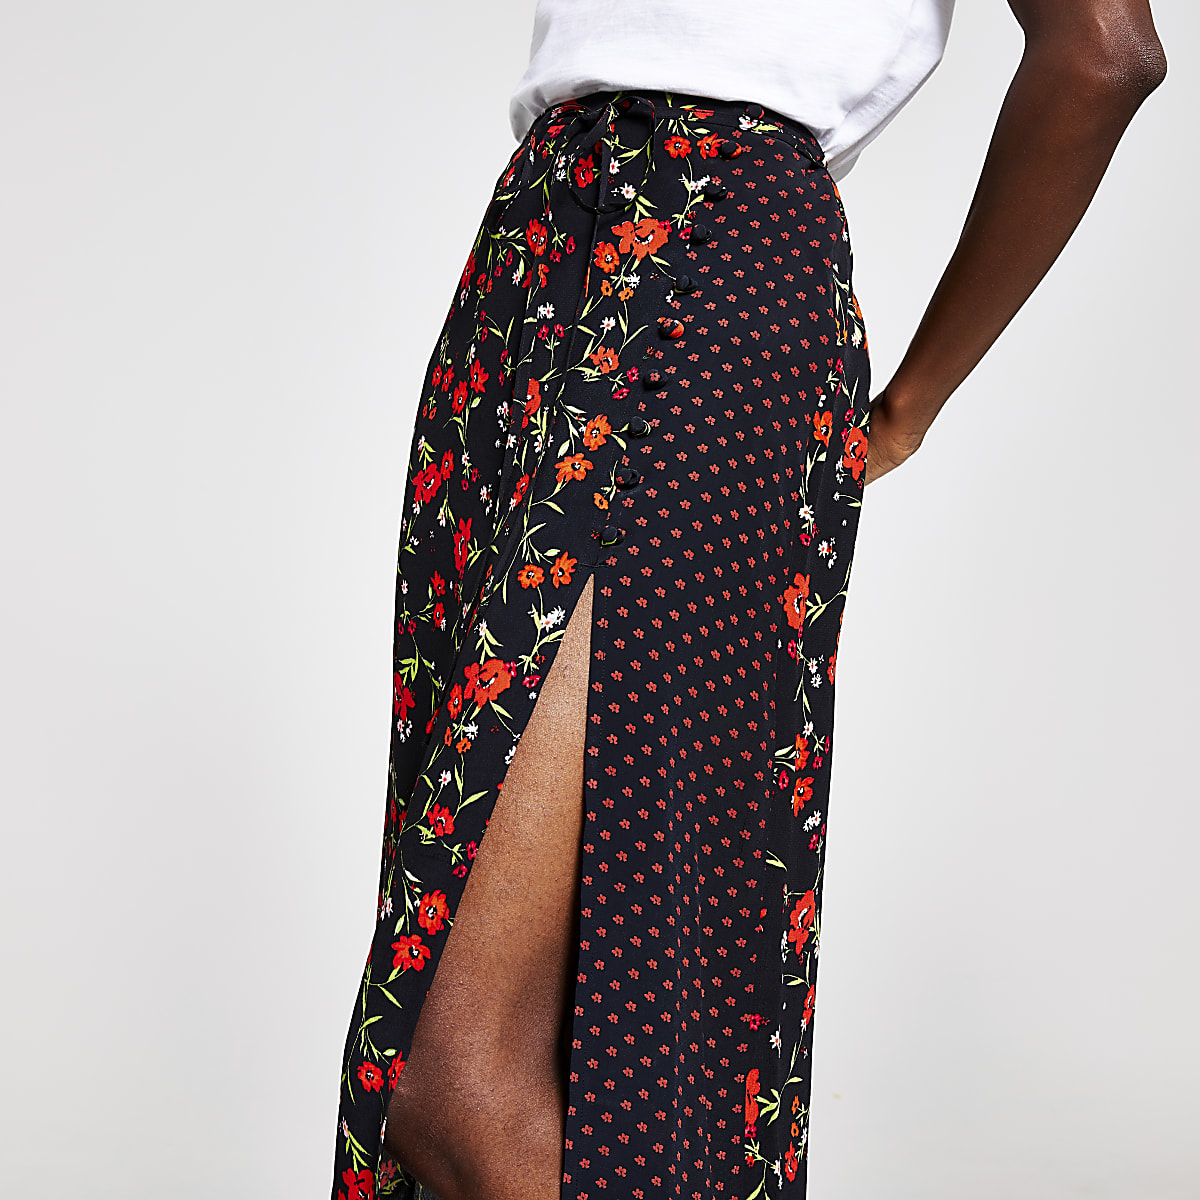
I got an email from River Island this week and it featured this skirt in several different colours. I fancied wearing this for summer but do not want to pay out £26 for this. Its an elasticated waisted skirt with a pull cord and self covered buttons.The buttons will be the problem for me. I do not have a kit to make them so will probably need to use normal buttons but this skirt seems otherwise pretty simple and very good for summer. Also ideally I want to make this this morning to wear later today to the local village Scarecrow fair that is a yearly event. Mine is just above ankle length which was intentional. You can make this any length though and its very easy so why buy one?
This is written whilst actually working out how to make it so please forgive the present tense in the text. I usually write in past tense but that is due to it already being made so its a historical project whereas this really was as being made.
I spent some time yesterday evening trying to work out how its made. I think it does have side seams but no real shaping. Its a pull-on tube skirt made from woven fabric. The buttons are just for looks ( I reckon because I have not popped into a store to check). I suspect there maybe mock button loops but I will find out later when I eventually get to River Island to have a better look at this skirt in the flesh - so to speak.
So my analysis of how to make it: 3 pieces.

Back, front right ( left in photos) and a smaller left panel then 9 buttons down the joining seam. Elastic round waist and a pull cord to secure and to make a feature. Easy? I reckon so.
Anyway I intend to have a go at making one of these.
Time to make this about 2 hours including cutting out.
You
will need about 1m of 116cm wide fabric for a size UK 8-12 but more if
you want it baggier or for a bigger size. A wider fabric will obviously
make it easy to use these basic directions for a bigger size. This is a
particularly narrow fabric. Most fabric I buy is about 140-160 wide.This is 116cm wide. You also need 2.5cm wide elastic.
This version has a contrasting panel so you could even use some scraps for this skirt:
 So where to begin?
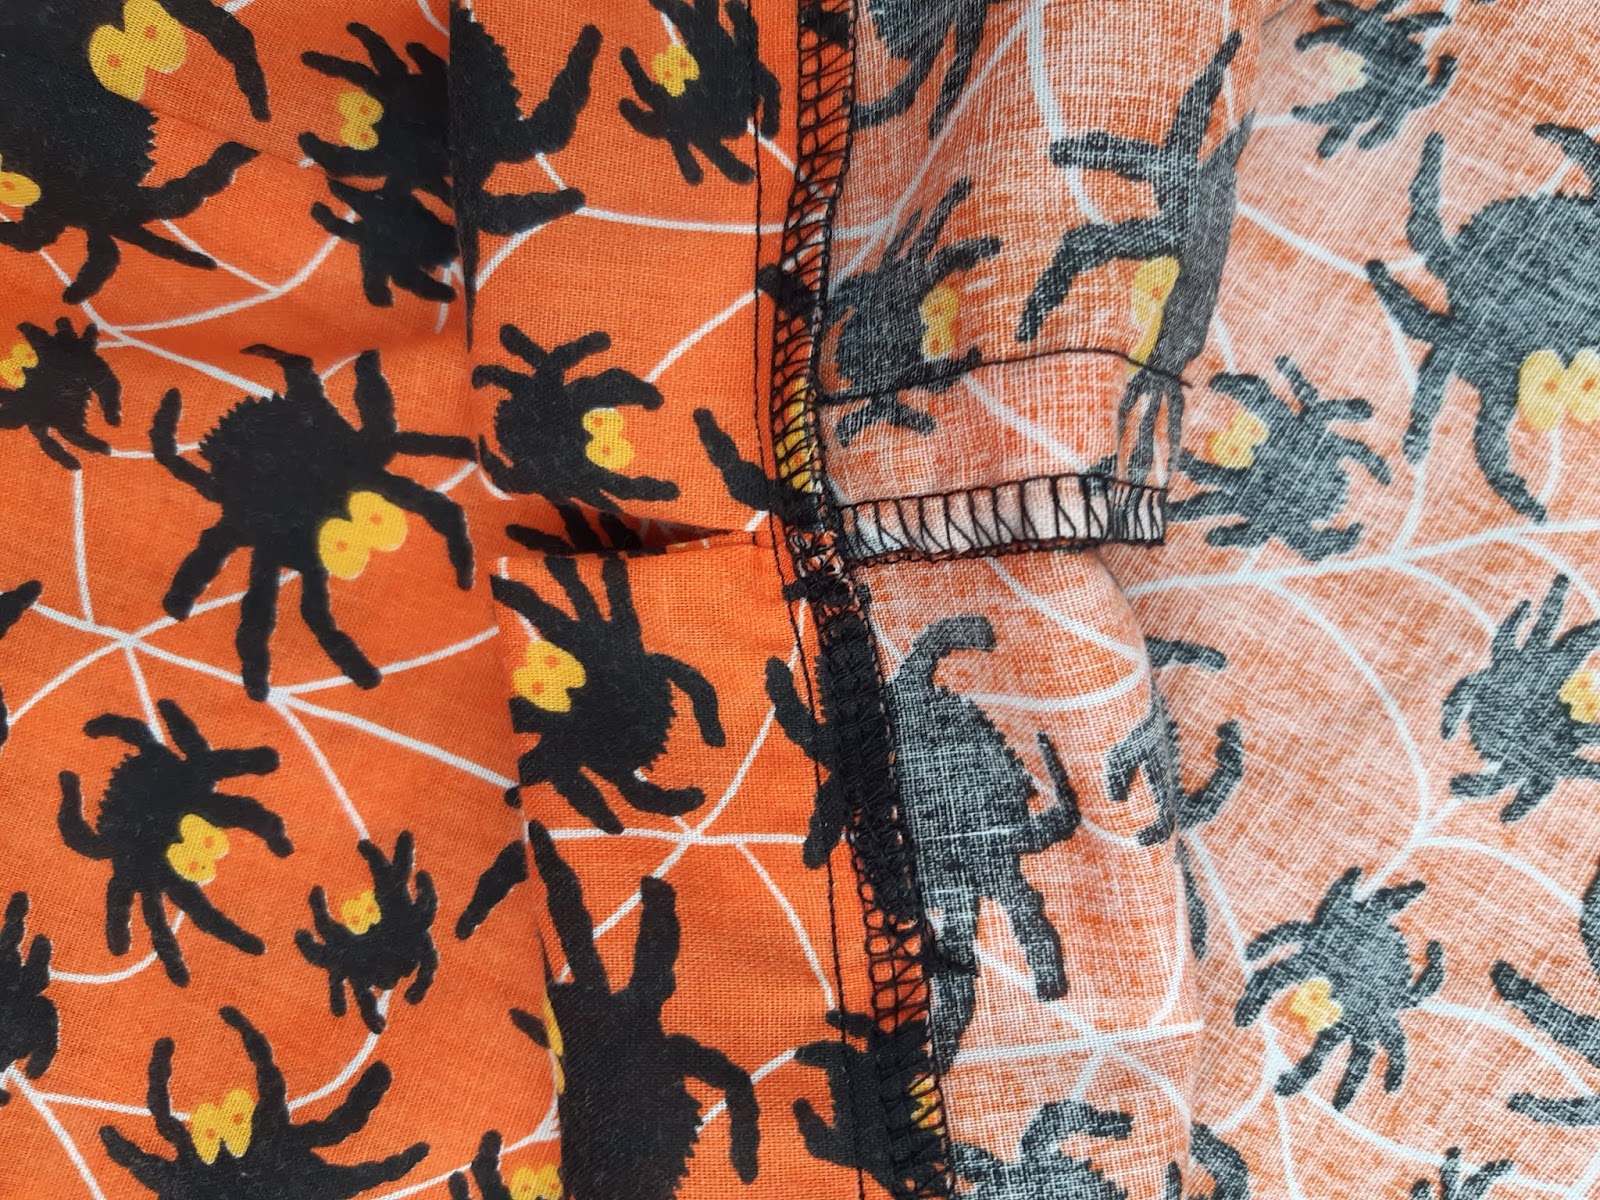
My fabric, that I am using is an orange spider print which I have owned for quite some time. It was an end of roll remnant that has a slightly faded bit where it was folded on the centre of it. I never realised when I bought it. It was off ebay and I gave the seller a very good review which had I realised there was a faded line through the middle I would not have done. It was still very cheap though for 4.5m so probably still worth it. I do not mind buying seconds so long as the seller is honest about it. I think it is a Rose and Hubble print from memory.
Being orange and light weight cotton I reckon it will make a really nice summer skirt.
So here is my design:

So I folded my fabric and cut it to 84cm in length, then cut in half down the fold. This means I have now cut out 2 rectangles 84cm long and 58cm wide. One of these is the skirt back. See diagrams above............
Then cut one of the rectangles in two so you have 2 smaller rectangles that are 39cm wide and 18 cm wide - this is the front. Both should still be 84cm long. I guessed where to cut the front so if you cut it slghtly narrower or wider would probably still work. The split though is off centre on the original design from RI.
A strip for the waistband - 10cm wide and 58 x 2 cm = 116cm long ( or the width of my fabric).
3 more strips for the waist tie or pull-cord. I will have to join these to get the length I need. Mine is quite long but from the photos o the River Island site so is the RTW version so this is up to you. You do not actually need the waist tie since it has an elastic waist.
Now to sew it up.
First sew up side seams. Then over lock them. Or zig zag, or even just leave raw. Sew up the slightly off-centre front seam. I should have overlocked each bit here seperately cos you do not want them joined even in the overlocking cos that will make it harder to hem it. So ideally you want to finish the front edges first then sew up the seam which will be easier. I was just sussing out how to make this though. I sewed mine 31cm long from the top edge. It was a guess and worked, but check on yourself. It will need shortening or lengthening depending on your leg length etc. And of course depending on how much leg you want to show.
Then I pinned the hem on the split. I suppose it would really be much neater to hem this with folding it over twice rather than overlocking but I am on limited time here and need to wear it in a couple of hours.
Sew the centre split hem and press. Sew bottom hem. Pin waist band on. I pressed the centre hem of waistband in and left the opening open.
I butted the two ends together. You could be more professional but I am as I said rushing this......

Sew around the waistband to secure:
I then overlocked the top and the edges together for speed so its neat but not yet very strong. I also sewed just slightly to one side of the centre seam but it does not matter as you will see.........
Topstitch the edge down. This makes it strong and stops you seeing the overlocking where the wasitband front is still open to receive your elastic and pullcord.
Now join the three rectangles of pullcord together. You could interface these. I didn't. I folded over twice to make strongish and then sewed on outside and folded the ends in for neatness as I went along. You could if you forget to fold in the ends just knot them. I have done this before and it looks OK. Trim all cottons so that when you thread the elastic and pullcord you do not get tangled.

Thread your elastic through the open ends and through the channel and secure it by sewing the ends together either by machine or by hand. Then over the top on the outside thread your pullcord. Then by putting the pullcord over the elastic you will nto see your elastic when wearing this.
You can just glimpse the elastic in the middle here under the pullcord but once worn will nto see this at all.
I then added some small black buttons which I have in my inherted button stash. These are OK because I have no time to buy more and they will look fine. Maybe not as good as the RI covered buttons but still OK and I do want to wear this in a couple of hours time. I only have 7 buttons so this must do. The RI skirt has 9 buttons. But then this is a very fast make and the button sewing is possibly the slowest bit of this skirt making. And the most tedious bit!
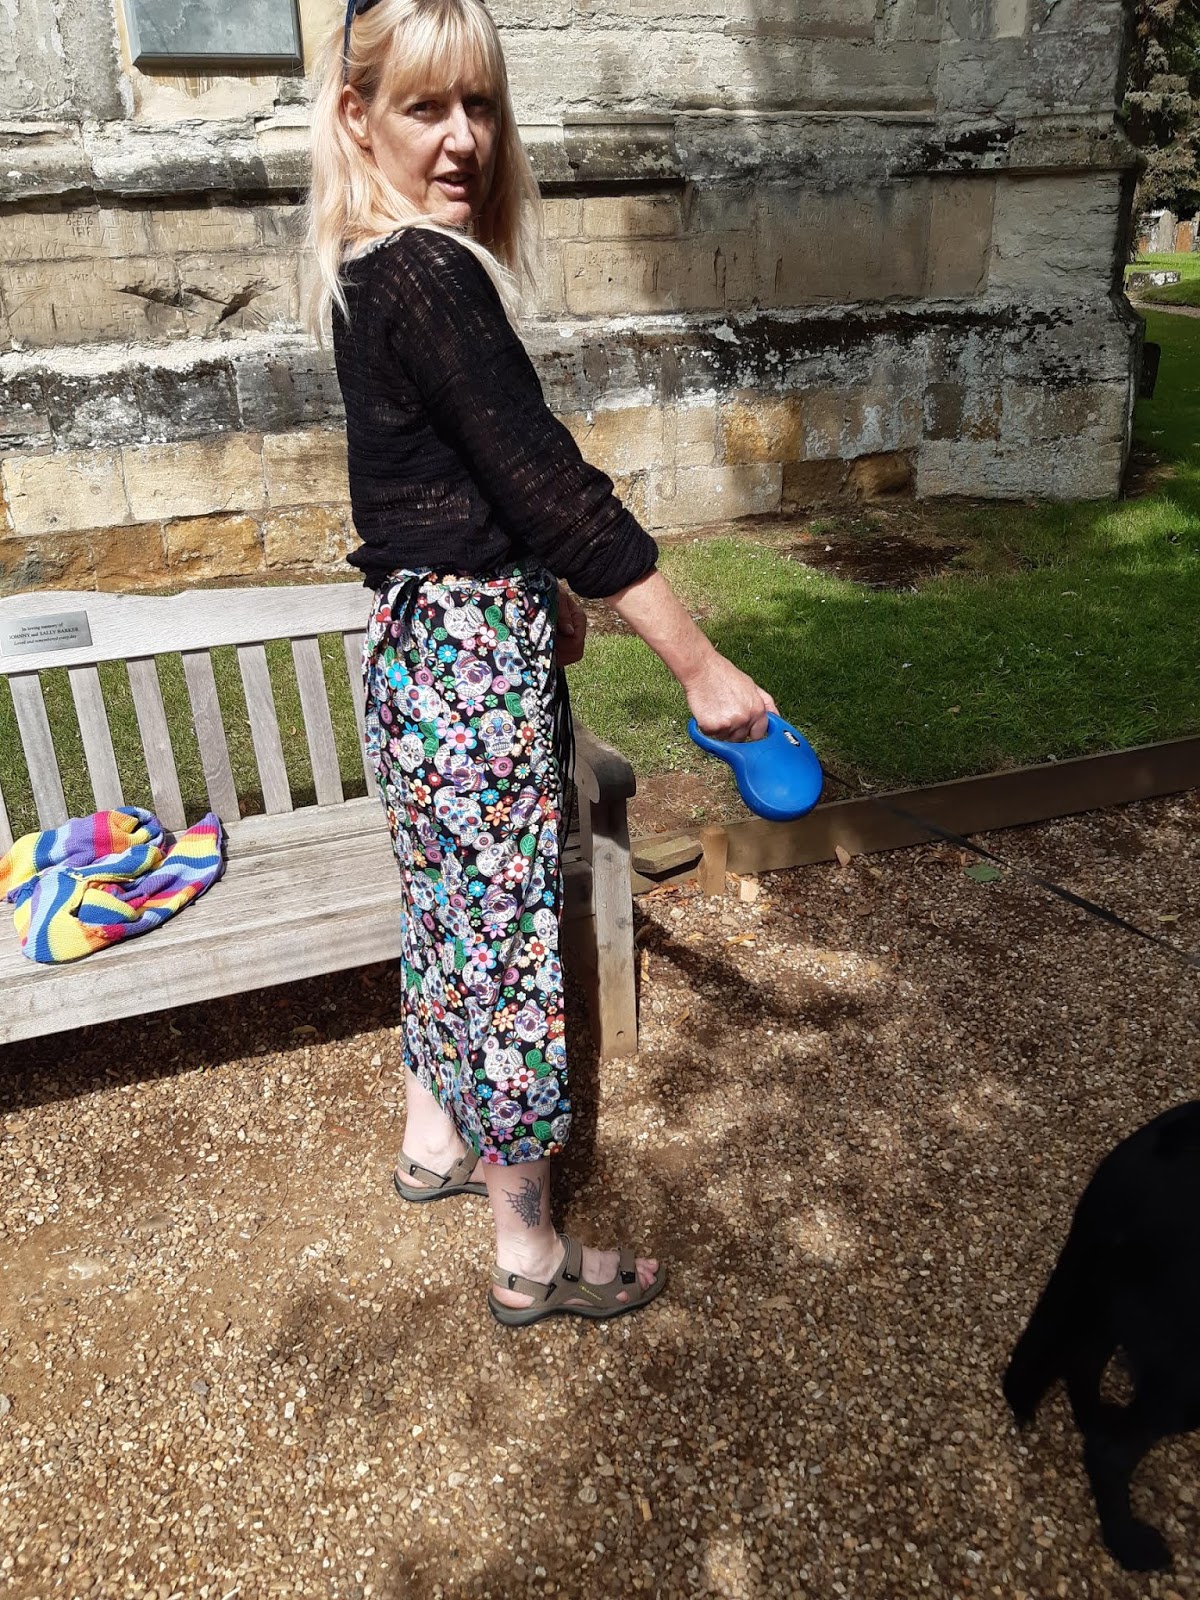
So here it is on
And my lovely dogs just had to get involved........
I am happy - this is a good summer skirt made in about 2 hours, and a reasonable copy of the RI skirt I was sent via my emailnewslatter - at least from pictures on the website. I will try to pop into an RI store this weekend to see how similar it really is in real life and update this post once I find out. Either way its a fast simple to make skirt that is comfortable to wear, shows a bit of leg, costs very little depending on what fabric you use to make it, and I reckon could be made as a mini skirt or ankle length, and in just about any fabric - so denim, cord, or velvet for winter too. Seriously this is an easy make. Hope you enjoy.................
Bracken


 I added some elastic braid to the seam above the opening in this version. It is sold as wedding elastic. I did not have any small buttons so used pearl beads. I suspect the paint may yet come off these when they are washed so I may have to replace them at some point.