I cut out the rest of my satin backed fabric for this top. This is
the same lovely fabric I bought for a song from Ebay and made my
cullottes from:
http://brackencrafts.blogspot.co.uk/2017/08/now-thats-what-i-call-cullottes.html

I am not too sure exactly what this type of fabric is called but it has a
serious amount of drape to it. I really do love this fabric. I will have
to keep a look out for some more although I suspect it will cost me
quite a bit more than the 99p I paid for this piece.
This is the pattern I used. I made view B.
So.....
I cut out my top and started to make it. Its meant to be an easy
pattern and has no zips or fastenings. The buttons on the front are just
a decoration.
I thought this would be a quick wearable top to make while I keep on fiddling with my shirt dress:
http://brackencrafts.blogspot.co.uk/2017/09/burda-easy-shirt-dress-part-1.html
I have done a bit more to that which you can read about in my next post here:
 |
| the inside showing facing with overlocked edges |
 |
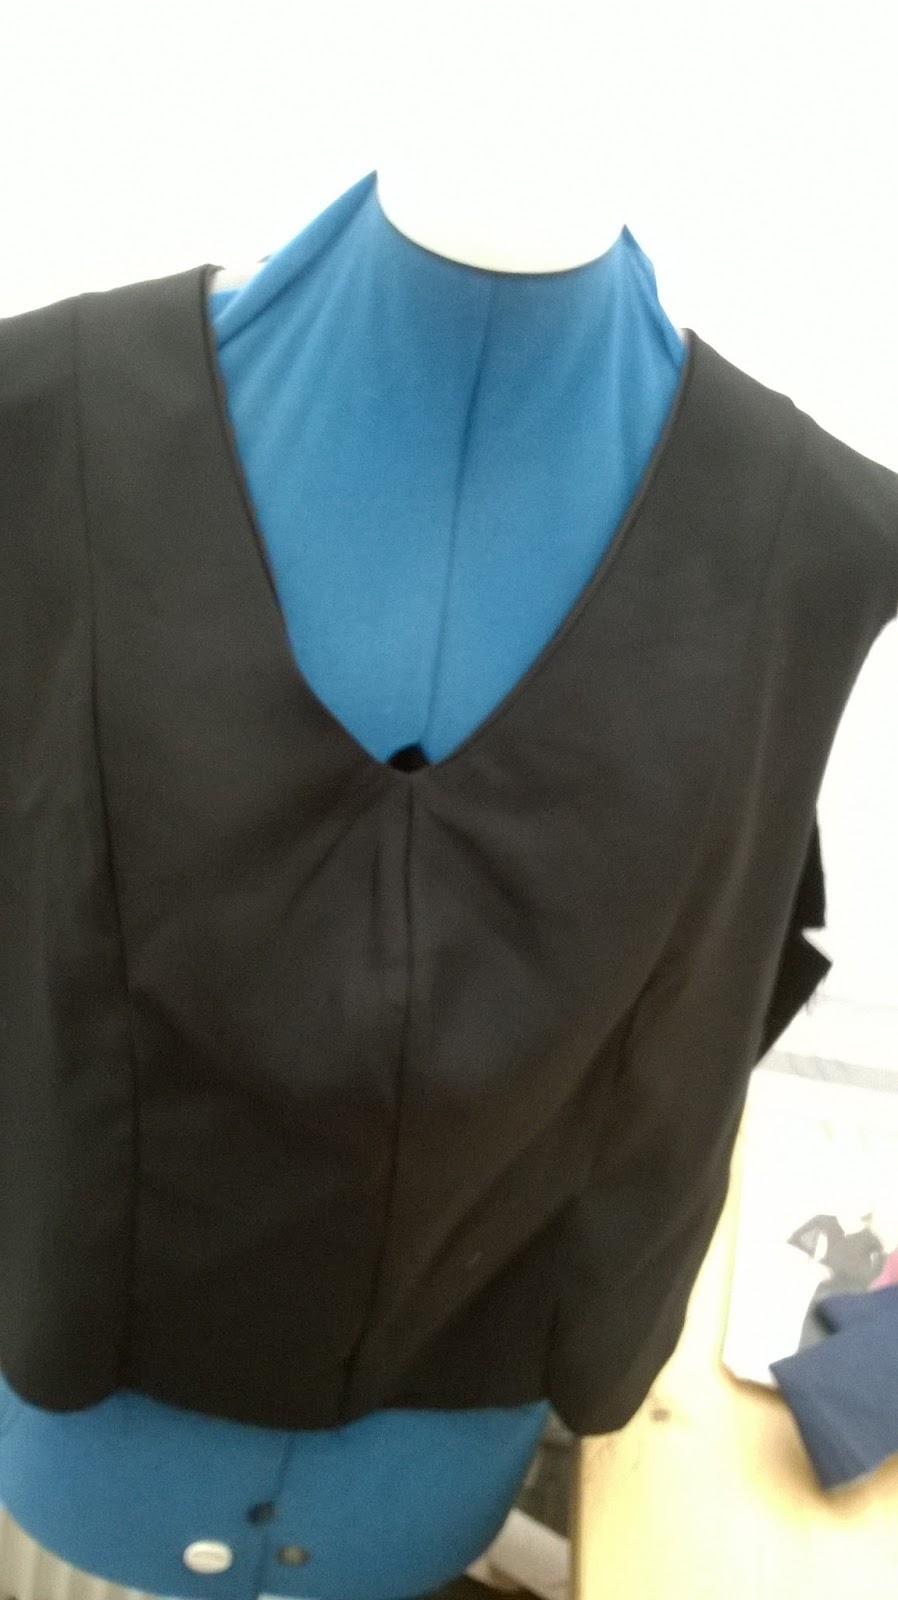
| The right side bodice front and back joined at shoulders |
I
decided to overlock all edges because this fabric frays like mad. I
overlocked the inside of the front facing aswell and caught it into the
final seam where the peplum attaches. You are meant to hand sew this
down. I works fine though.
 |
| The inside back with the yoke sewn by hand |
I did actually hand sew
the back facing into place and it does give a nice neat finish but so
does overlocking and it was taking me too long to finish this.
I have had
such a busy few weeks honestly you would not believe.
Well actually
maybe you would😊. Anyway I have not done much other than work.


Now the pattern is meant to have more of a gathered back piece. It just
was not wide enough to do that so I added pleats. There was very little
extra fabric for any room so this being a pull-over top I was a bit
worried at this point but it turns out big enough anyway so thats OK. If
you did want gathers though check your pattern piece first and adjust
if necessary.
I attached the sleeves as described in the pattern ( forgot photos again), added the flared
sleeve frills and I hated the over flouncy effect so I took the frills
off. Since they were overlocked on rather than sewn with a normal sewing
machine that took some serious careful unpicking. I just could nto see
me wearing it with these over flared flouncy gathered frills though.
At
this point I should have got some photos to show you but was so desperate
to just get this finished I never took them. Sorry for that. If you do
decide to make this pattern though be aware the sleeves are a bit OTT in
view B. I have not made view A so cannot comment on that.
Its a shame
because being two perfect circles means there was quite a bit of fabric
wasted by not using the already cut out frills.
Then
I neatened the ends of the sleeves by overlocking and added this nice
crochet or possibly its meant to look like "tatting" effect lace onto
the edge. Thats much more me. Even then the whole top is still a bit
frilly. With the sleeves already being flared and puffed at the
shoulders I really do not think I could handle wearing this with the
flared bits on the end of the sleeves.
 |
| Shows the hand sewn pleats at front before adding buttons. |
I even
added three gold buttons (from my stash of old buttons inherited from
my grandmas and various great aunts). Though to be honest if I change
anything it will be those buttons because I do not actually like them.
They were available and I think you do need something because you hand
secure the front gathers and the buttons reinforce that. Because the
fabric is quite heavy I do not think my machine would be happy sewing
through the thick fabric with added facing either so I did follow what
the pattern says here.
I love the high low hem on most tops and dresses but this is something else. With a belt it can become a steampunk type of Prince Charming top but even for every day it is wearable with black trousers or skirt for the office.
The tail is just fantastic!
And without the belt it is just as wearable!

Yes, this top I reckon I am going to enjoy.
This is the inside of my finished top:
There was a lot more hand sewing that I really like to do because I am
not neat at hand sewing so I find it very difficult to get a good
finish. What I did do with this garment which is unusual for me is lots
of presssing and ironing and steaming of seams which could be why it has
turned out to good. So thats a lesson to me!
To do the edge of the peplum I decided it would be difficult for me to get a good finish with a folded over hem - not sure what the proper sewing term is here. I also did not want to overlock and just fold it once since you would be able to see the overlocked edge. I am sure some RTW stores would sell it like that but I really want this to lok as good as I can make it because seriously I just love this fabric and there are only a few scraps after making this.
So... I decided to have another got at a lettuce or rolled hem although because the fabric is not stretch it does not actually look like a lettuce but it does give it a nice neat finish.
Every time I have done this before I get something go wrong and although it eventually looks passable never has this worked for me before. This time I did not look at Youtube or the machine manual for help. I did it gradually. First I remember how to disable the bottom cutter. Change the lever from normal to R for rolled hem edging and then return to usual place and I remove the left thread. What I forgot was the fact the left needle must now be removed. I forgot that and it took a few runs to work out what was wrong. This needle must interact with the rest of the sewing mechanism despite not being threaded! I need to have a proper look at how this thing works but thats for later. Right now I need to finish my top.

So I have a serious shortage of tea towels right now. I was going to buy some but had an idea. I am still fidling here to make a rolled hem and seriously do not wnat to muck up this top since its looking good now. I decide to cut up some new curtain fabric. I thought it would come in useful when I bought it but still have no idea what for and its just there taking up room in the stash. So practice and make tea towels. The photo below shows the different edges until I got perfection. I eventually remembered to actually take out the left needle and finally found a good tension. Tried it out first on the two frills which I never added to the sleeves. (Incidentally my other half has now pointed out that they would give this a "Shakespeare" look so I may try making another top with frilly sleeves after all.)
I now think perhaps I shall use the spare frills on a different top so they are definitely worth keeping and now have a ready finished edge as well.
So here are my tea towels. You can see a gradual change to rolled hem and this was also useful to set the overlocker back up to overlock afterwards. And I even oiled it! Well it worked hard on this heavy fabric and I decided to give the poor machine a treat. I had to clean all the lint out after this anyway.
I think this has made a lovely top and will work really good for winter because this is a heavy weight satin fabric although I used the opaque side. I do like the final top. I reckon I can even wear it for halloween!
The black leather leggings are here:
http://brackencrafts.blogspot.co.uk/2016/03/24-red-lace-hoody-burdastyle-012016.html
The bats leggings were RTW from H&M last spring. They would be easy to make though since ebay is full of "halloween" fabrics right now!
Thanks for reading.
Bracken


 These are lovely warm, slouchy, but smart trousers, but I did feel they were a little OTT when I wore them to work. Someone did comment on them and I would rather be ordinary at work. So I think these will be really nice weekend trousers despite being made from suiting which normally I would avoid for my days off.


