

It was my birthday and I went shopping at the order of my partner. We were on holiday. Whilst looking for something to buy, because I was told I really should have a treat, I saw a gourgeous dress in a Surf Shop in Cornwall. I could not take a photo at the time. It just was not the kind of place I would feel comfortable taking photos of their stock, so I just did a really fast sketch when I left and otherwise for this dress (dresses) I need to go just by memory when recreating the dress.

It was a charcoal grey jersey ( I think probably not even cotton by the feel of it) and was a racer back vest with several twists at the back and a wide flared A line skirt. I seriously considered buying it because I liked it so much. But it was £68, and although it was my birthday, and I had the cash ( and a partner nagging), I just felt it was such a waste of cash when really we had struggled to afford a holiday. I hate to just waste money especially on clothing I can make better and cheaper!
Really it was worth my browsing and getting the inspiration so it was worth visiting that shop, because I would never have thought of making such a dress if I had not seen it in the flesh so to speak.
But for me a £68 dress that is not even a practical item, ( like jeans which I still would not pay so much for, or maybe a coat), is not worth wasting such a large amount of cash on. Had it been £20 then yes I probably would have paid for it. It was my birthday after all.
Anyway it was really not very well made so I decided to have a go at making my
own version of that dress instead and I am really very happy how it has
worked out and have to say it was worth risking my precious fabric for
this dress. Its Precious despite the costs because it may have been bargain basement fabric, but I like the fabric here very much and cannot replace for a similar cost.
And then I have also very much enjoyed the adventures into making these over the last 3 weeks or so. And its so fulfilling when such a project actually works out really well. This one has!
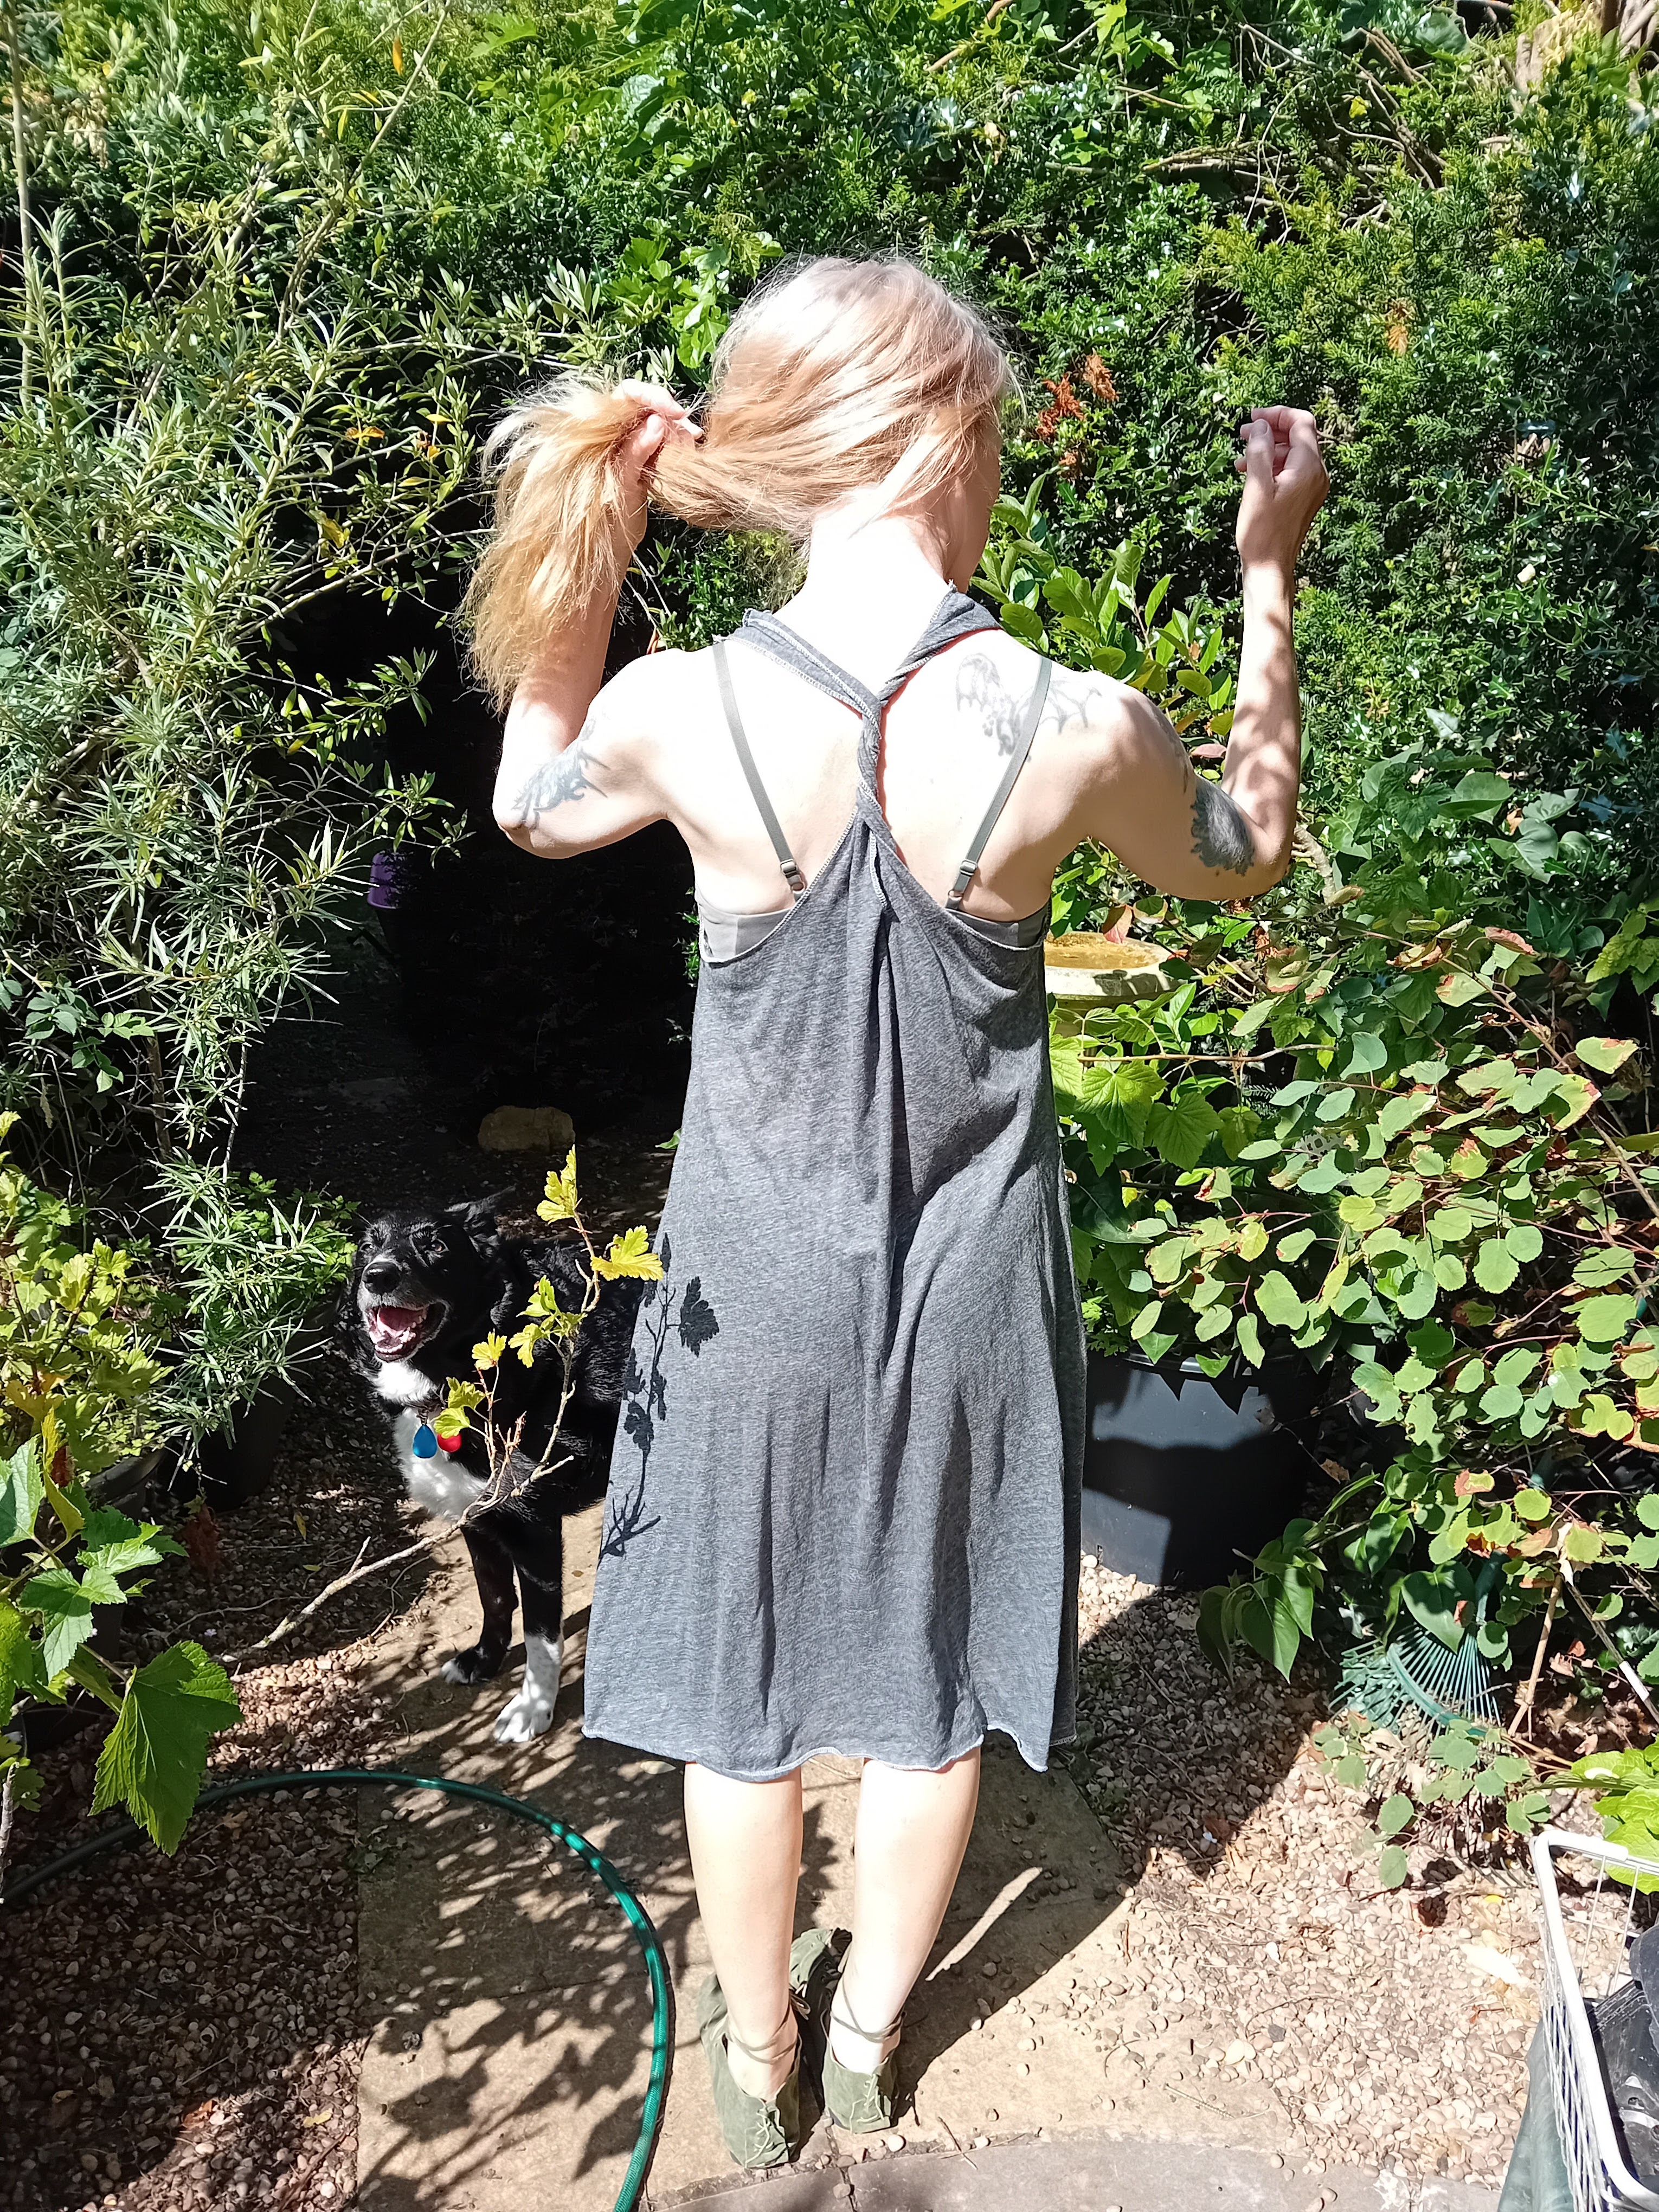
So there are 3 dresses in this post, the long green one above, a shiny gold/silver grey marl below which is shorter in skirt length ( and shoulder straps) and what I should probably call a wearable muslin which is shown later down this page. Its is not actually a muslin as such but I will explain about that in a bit.
This is the shorter gold/silver version:


Anyway, in the end I made 3 dresses. Its cost just about £10 for all 3 versions of this dress and that would include the thread and even the electricity to do the sewing. All 3 versions are in nice but bargain fabrics hence the cheapness.
So here they are:
Thin Grey Dress:

This was silly fast to make dress, which spurred on my making of 3 dresses in total. I just decided one afternoon about 2pm to have a go at making that lovely surfing dess and got out the Durango tank pattern, found my thin grey fabric and got cutting out. It took about 2 hours to make this from cutting to overlocking the edges.
I wish I could honestly say I made a muslin but actually, no, I jumped straight in and used the Durango tank pattern that I have owned for years as a base and placed the pattern on the fabric and just guessed. I think there has been an upgrade to this pattern but I used the original version because in all honesty I had already taped it together and I was being lazy.
When writing this post I had a quick search for the Durango Tank and its amazingly still free and there is also free dress instructions. Not the same as my dress of course but if you did want to make one it might be worth checking out. I may have to make one of them next............ If you want one like mine; read on how to alter this pattern.
The grey dress is made in a cheap (£1/m) fabric that is very thin and gauzy but perfect for just trying things out. To wear alone it will either need a second dress in the same or similar fabric to stop it being see-through or a vest dress or similar. It would be fine over a bikini on the beach though or just with leggings/ cycling shorts etc.
In
fact this fabric is so cheap and thin I decided its really not possible
to get a good finish by hemming it so the edges remain just overlocked
and so its imperfect and not quite a good copy of the original. BUT and
its a big BUT it did work and it worked well. It really needs a rolled edge but so far I have not had the time to set my overlocker up to do that. Maybe next week.


 |
| Front |
 |
| Sorry rubbish photo but its the only one I have that shows this. Back straps lenthened, V or racer made more obvious ( see below for detailed explanation when I made the pattern) |

Then I tried out the twists to see if this was likely to actually work:

Well this laying of a pattern on fabric and guestimating works if all you want is just the one dress and its an ideal way to copy RTW if you want to.

There is something really nice about this particular dress though even though the fabric is thin. Or maybe because the fabric is so thin. I like the overlocked edges and hem and it hangs very well but that finishing would not look as good on the other two dresses.
Its worn over a RTW bikini top and it does need something under it. Well unless you are brave and I am far too old for that!


But what if you want to be able to make several dresses and all to fit identically?
Well, next I decide I want a better version of this dress so I decided because I like this design so much, I will actually bother to make a proper pattern so its repeatable.
Thats what I mean!
I could have blagged here I made a muslin and did it all as you are supposed to but no, I did not.
The pattern came after the first dress but that is ok.
So I started as I said already with the original version of the Durango Tank pattern from Hey June patterns. Thank you Hey June because this was when I got it a free pattern.
To make the pattern:
First I drew around the original pattern pieces. Unfortunately I used pencil to make this not biro so its hard to see but hopefuly I can explain how this worked.
 |
| Front |


Then I needed to remove some where I had originally just folded he pattern in the back at CB. I cut some off the CB racer V and then split that in a long V by lengthening the straps. I do not have a good photo of that. Below is my best photo. Hopefully you can see where I cut it out where the original line is scribbled over.

The best photos of the back pattern are these; taken on a dark towel. You can see the shape of the top from these:

 |
| Back piece |


I elongated the straps by 9.4cm for the gold version and 12 cm for the green version. They both end up to be 8.5cm wide at top and bottom of the straps.


To adda skirt: I added 6.5cm at the hem of the side seam of Durango tank front and 7cm at CF at hem.
Then continued the original side seam line for the length I wanted which was 114cm for the side seam (under arm) to hemline for the green dress, ( the gold dress is 16cm shorter). I used a steel ruler for this because its more accurate. Mine is inherited and old so its hard to take photos to show you the measurements but its accurate and I recorded it all.
Same amounts added to the back pattern piece and then I made sure any paper bits that were not well taped together were taped again making this a strong paper pattern. Its made of wall paper. You can find rolls reduced to around £1 sometimes so I look for them when DIY shops have a sale on. Then having made sure it is all secure I cut the pattern pieces out before cutting any fabric.
I also then checked both my side seams were actually the same length because sometimes when you do these kind of alterations they end up not matching. I must have measured ok because they matched.

FRONT:
7cm added at CF bottom of Durango Tank pattern.
6.5cm added to side seam.
Length at side seam 114cm. Skirt width of the Front pattern is 91cm. So thats half of the front width.
BACK:
8.5cm added to CB hem and 12cm added to side seam hem.
Back skirt final width came out to be 63.5cm for half the skirt width ( before sewing up).

This is the back pattern piece after altering. I shortened the skirt a bit for the gold dress. I left it as is for the green dress. I was not sure how long I would make it hence you see two measurements. I went with the longer one for the green dress. I actually hacked off 16cm all around the original pattern before cutting out for the gold dress but I have kept the cut off piece to reattach should I want to.
 Below is the front pattern piece:

The Green Dress:

Well the Green dress has rather long armholes and I think I am a little too old to be flashing my boobs to all and sundry so yes I am wearing this with a small T shirt under it or an exercise bra/ bikini top. It still a lovely dress - I really love this version!
It also works well over a fitted Tshirt like a pinafore dress.


I did decide the low armholes might be a problem though, hence I made the silver/gold dress with shorter back straps.

Though I am wearing this version while I write this post and have to say I love it!
It does need something under it. But then a 20-something could wear this braless and look fantastic. I am a bit past it for that nowadays whether I have low armholes or not.
Grey and silver/gold marl Dress:

Second version is in a lovely gold/silver metallic grey marl which does not show well in photos but it shimmers really nicely and being based on a grey marl goes easily from day wear to casual evening wear. I bought this fabric about 6 years ago so its well overdue to be used.
This dress is shorter which was deliberate. That also means the skirt is less full because I just hacked 16cm off the bottom of the skirt for this version. I am happy because personally I dislike massive wide skirts. They were lovely in my teens, but not so lovely nowadays. I prefer more practical. So slightly narrower is fine - though of course its the same width actually just shorter so loses the bottom of the skirt. I do not have a problem with the green dress hem width but would not want the shorter dress to be so wide.
I actually sewed this one twice because I shortened the straps meaning it needed less twists to look good and fit right. The original straps had more twists.
The first photo shows the first sewn version. You can see the second hangs much better. It also wears more comfortably.
 |
| Too many twists! |

Excuse the mess in the back ground - partner is making stuff at the moment.

Anyway the shorter straps need, not surprisingly, less twists.


Well once I had totally unpicked and resewn the neck and armholes I was happy enough with this although it turned out to be a nasty fabric to sew up and the hems are far from perfect but the twists do hide much I am unhappy with. I also shorted the front strap length on this dress by 1cm so its higher at the neckline.
Again though I have worn this quite a few times already so I am not really sure which version I actually prefer.
Incidentally I was worried about how to hem the neck and armholes, but its easy. Just pin as usual and be careful as you go round because of the twists but really it was straight forward doing this.


Thanks for reading and well done if you got to the end of this rather epic post. I very much enjoyed making these dresses and the experiemnts with patter adapting/ hacking. If you want to make one and ayting doesn't make sense message me and I will try to help because this is a very easy makeonce you get your head round how to do it. You could also use any loos-ish tank/ vest pattern as a starting point. Also I have had this thing for making a twist top for ages and never got round to it so thats something else off my list at last.
Have a great week,
Bracken
No comments:
Post a Comment