
As a 15-16 yer old I really wanted a Johnny Rotten style holey jumper. Angie's in Oasis in Birmingham used to sell them for around £20 each.
Bearing in mind this was 1979-1980 this was Extortionate!
My mum was a brilliant knitter but refused totally to knit me one. My Grandma had a clearout of all sorts of yarns and ends of balls and I decided to knit one of these myself - for nothing. It took a few weeks - fast then for a novice knitter - but I was so dedicated to this you would not believe. I used the biggest knitting needles I could get hold of. They were size 000 which is about a 9mm or 10mm now. I am so amazed these huge needles have become so popular again in fact because they make for rubbish loose knits but as a starter project they were then and remain now a brilliant way to begin to knit. I never knew how to rib then either so the beggining and ending were just plain knit. I did do stocking stitch for the main part of the jumper tho.
Its stretched and stretched but still I wore that thing.
I still, after all these years, love a holey mohair jumper, but want something a bit more stylish now and that I can actually wear to work, so this is my first proper knitting design which I am publishing but you are fine to copy and even sell but please credit me with the design and if you do want to republish this please link back to this blog.
 Its not as holey as those 1979 Angie-in-Oasis jumpers but it still has holes. To achieve that effect you would use the yarn single not doubled but it will not last long and will go out of shape fast. Thats why all those years ago my mum would not knit me one.
The doubled yarn makes it much warmer and instead of knitting stocking stitch this time I have designed a reasonable proper pattern stitch - though still very easy. I think it should stay in shape pretty well and the metallic thread lends to work wear in winter if not in summer. Nice with a pencil skirt I think!
Please also note this is not a very well written pattern because its my first attempt but hopefully it will make enough sense and be easy to follow. Please feel free to contact me with any queries and I will try to help.

The pattern is all plain knitting so very very easy. You need size 8mm needles but could get away with 9mm or 10mm. This will just make the holes bigger and be aware the size of the finished jumper will also be much bigger if you do this. I used 2 strands together of a medium gauge mohair so meant to be knitted on 5.5mm to 6mm needles.
The entire jumper is just rectangles although I did add some increases to the sleeves to shape them. This is easy to do.
 |
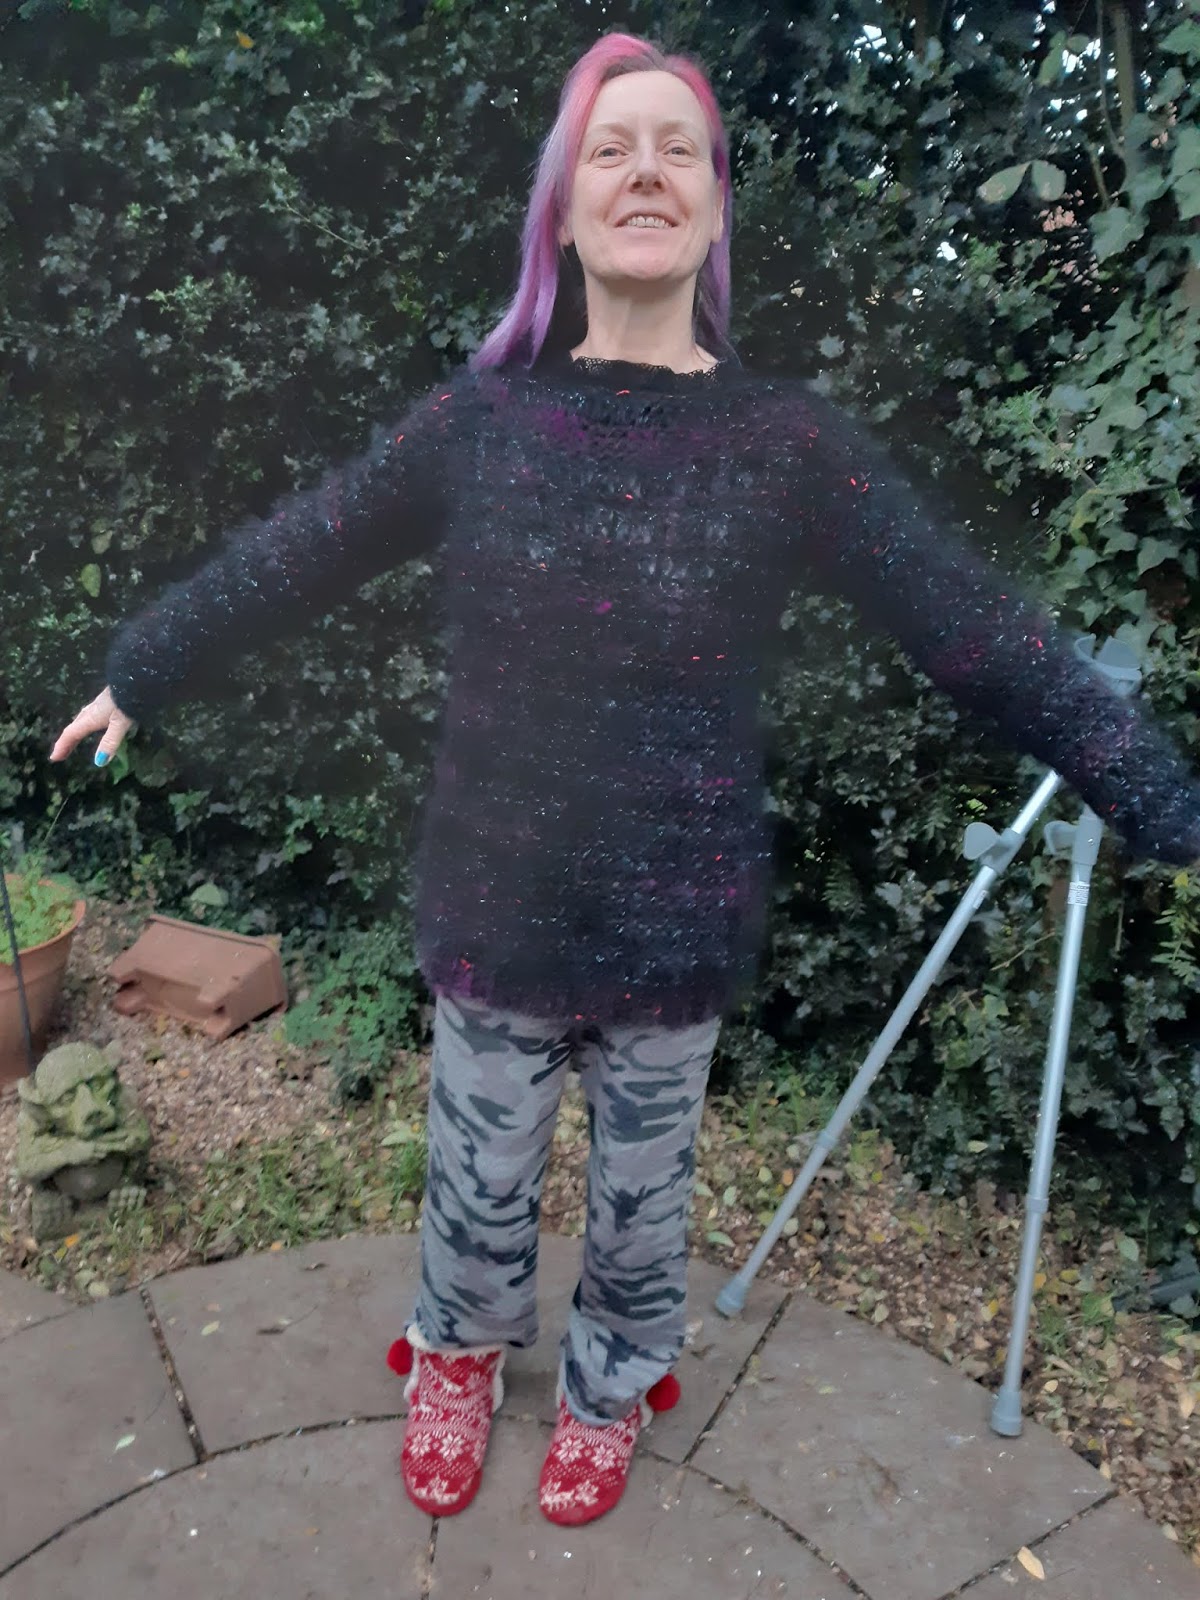
| Hard to get good pictures due to the rubbish winter light! |
My colours are: black with metallic silver threads; and black with purple and metallic red threads. I do not have enough yarn to knit this all in one colour. The colours sort of mingle so its hard to say they are stripes rather than a colour changing yarn but it works well either way. I fact I am very pleased with how this turned out. You could just as well though have something like a pink and black or red and blue striped holey jumper. It will be much easier to knit in a lighter colour than it was in black.
I did not worry about a gauge because I have no pattern to follow and just knitted and hoped. I cannot easily measure this either because the black mohair makes it very hard to see. A beginner might prefer to knit this in a lighter colour infact because it will make it much easier to see and keep count of rows and stitch patterns.!
FRONT AND BACK PATTERN:
Using 2 strands together of my black and silver yarn I cast on 76 stitches and knitted 6 rows.
OR you could rib here because I ended up picking up all around the bottom after sewing this up and adding ribbing on to make it more professional looking but it still works if you do not want to do ribbing. Hence, ideal as a beginners knitting project.
So having knitted your 6 rows (or however many you decide to have as your border) you then start a new row.
LOOP STITCH

*Now knit the next row but wrap the yarn round the needle twice for every single stitch you knit.
It now looks like you have twice as many stitches.
Once you have finished this row knit back but allow the second loop of yarn to "drop" so you end up with the 76 stitches you started with.
Knit 4 rows. of normal knitting.**
***Change colour to the black and purple yarn. Again use this double and knit the loop stitch again. Follow with 2 rows of plain knitting. ****
Then use the black and silver yarn. Keep repeating the pattern from * to ** and alternate with the second colour from *** to **** in stripes.
If you make a mistake for example knit too many rows in one colour just make sure to do exactly the same on your front so it matches. I made two mistakes with the pattern but it actually makes the final jumper more interesting. You can of course rip it back and then pick up all those sticthes again to make it right but with this sort of pattern you ca get away with just adapting to the mistake. And I hate unpicking!
Once the back ( or front) is long enough cast off straight across the end of the knitting giving a large rectangle.
Make an identical rectangle for the front.
SLEEVES:
Using yarn double as before cast on 14 stitches. Knit either ribbing or a foundation of several rows of plain knitting then using the above Loop stitch and stripe pattern start to knit in rows as the front and back pieces.
However at each end of every other row increase into first and last stitch by knitting into front and back of stitch. Continue until the sleeve is around, 50cm (19.5 inches) then cast off. I am not sure what my final stitch count was but make sure your sleeve is wide enough that when doubled it will fit your body - so measure round your arm at the top where it will join the front/back and allow for a bit of room to go over T shirts and for you to move in it. Remember this is just rectangles so has dropped shoulders.
This is a very in-exact knitting pattern but its also very easy hence you do not really need a pattern at all.
Bracken
No comments:
Post a Comment