On 24th June it became illegal in the UK to go into a shop without wearing a face covering. On top of that at last we have to get ready to go back to work. My partner works in a
front line job with the public. His line manager has said he needs to
have fabric DIY masks because its "greener" than bought ones. This is
despite the fact its impossible to make a Corona-virus safe mask!

My employer has not said I must wear them but probably that is also the case. Though I suspect I can wear bought ones but best we both do the same. Well
then, its me going to have to make us some masks.

I have pleanty of
off-cuts of cotton left over from various projects. I know Burda Style
have a couple of mask patterns so I downloaded both of theirs. There are other patterns everywhere though and most are free.
If you need the Burda Style pattern they are here and these definitely work and are relatively easy to make:
https://www.burdastyle.com/pub/media/wysiwyg/burdastyle/blog/2020/04/masque/EN_Anleitung_Maske_1_mail.pdf
The Burda mask comes in various sizes. These are all XL though I think I am going to also make the L because they fit my partner better than me.
So with this challenge in mind I found some interesting fabrics and set to work.
These
are all Burda Style Mask 1 which is shaped.
Wow is this job so excrutiatingly tedious!
Perhaps its because I MUST make these?
Mask 2 looks easier with just being a
rectangle with pleats. I intend to make both eventually because I have
been told recently that the Mask 2 type are more comfortable. I have yet to try that one but watch this space for more on Burda Style Mask 2.

So these masks are shaped and have 3 layers.
Two layers are of woven cotton.
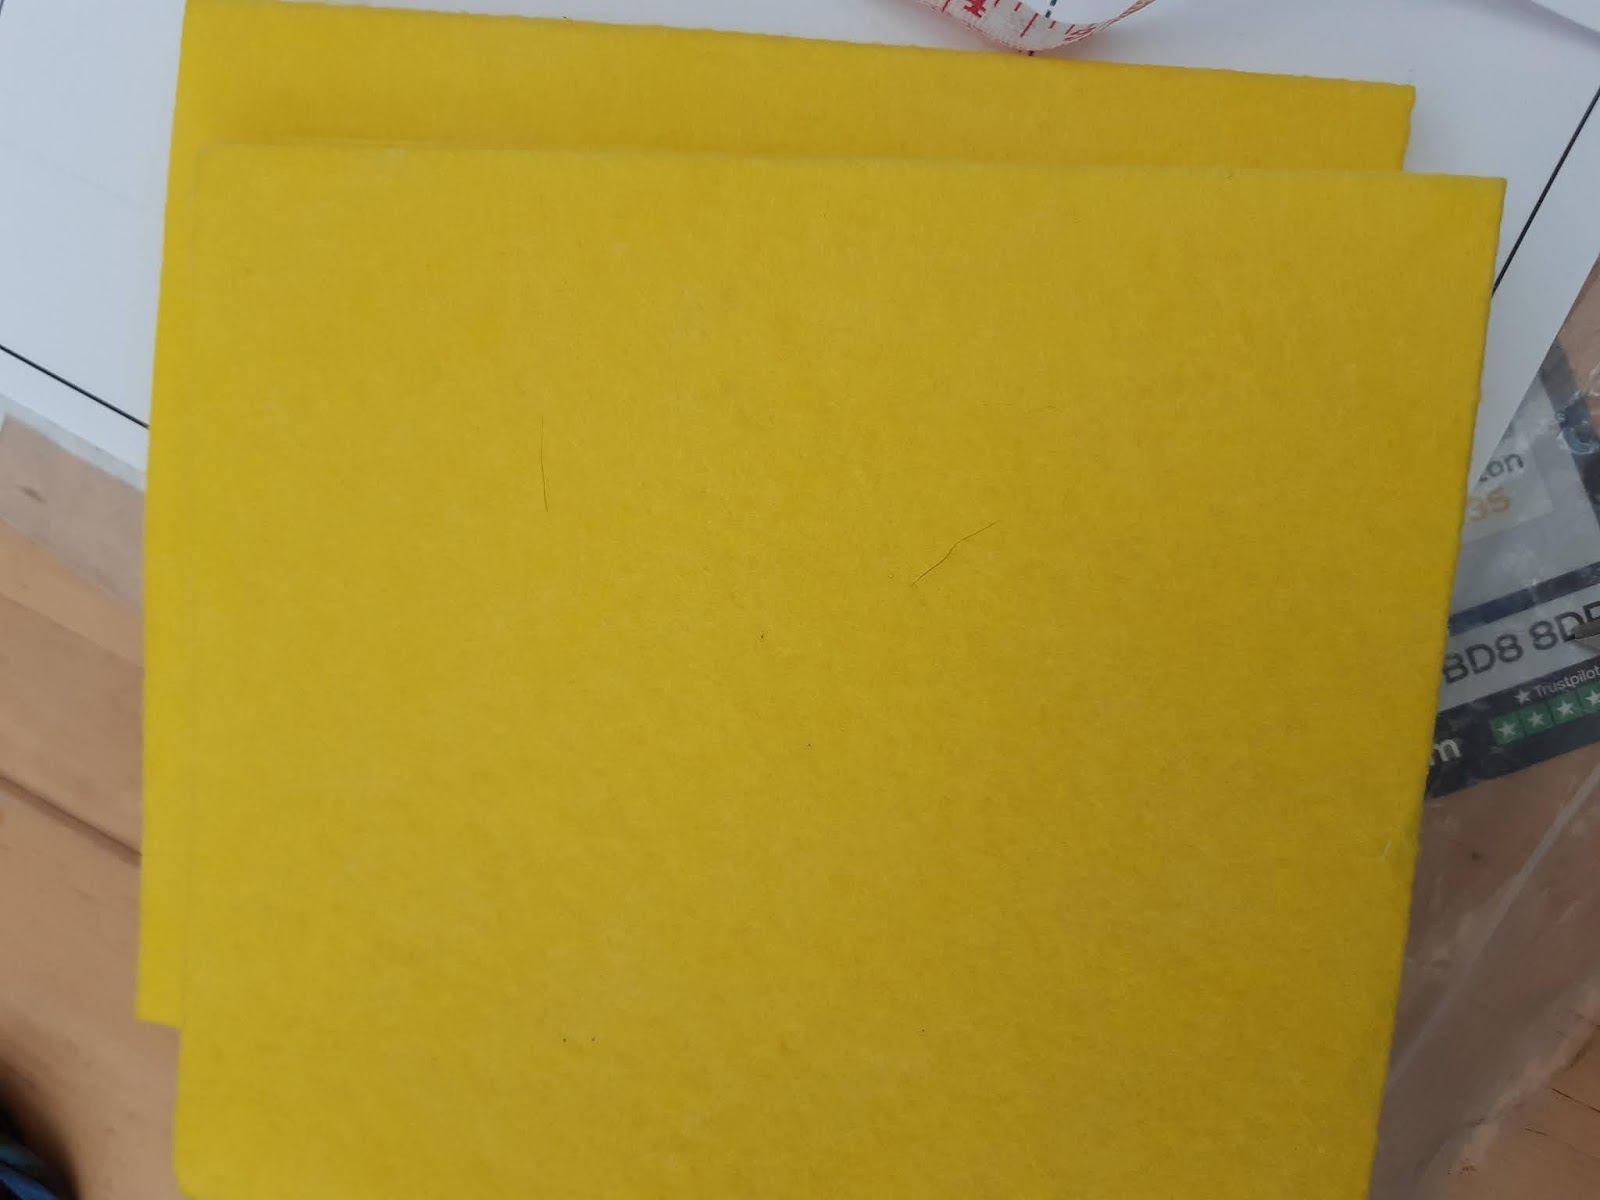
These two layers make a sandwich for the third layer which is a filter made of washing up cloths.


These washing up cloth filters are removable for washing. I am not so sure they need to be but have yet to try washing with them inside.
The Burda pattern instructions say to remove the wire and the inside filter before washing but doing that to 4 masks every day is going to be a right pain. Still I suppose it may stop us from dying.
Perhaps the filters decay if washed because the washing up cloths do?

UPDATE; IF YOU MAKE THESE DO NOT WASH WITH THE FILTERS INSIDE. It
destroys the filter, makes it very hard and you have to replace it so
it IS worth the hassle of removing and washing it without. It seems the
wire can stay inside though. So far no problem with the wire at all.
The wire I used is green garden wire that you tie up roses and tomatoes with. Mine was from Wilko though I have no idea if they will have it n stock. Queues at our local Wilko have been stupid so I have not been there since before lockdown. I used this kind of wire because I already had it. I works well. Then you need 0.5mm elastic as well. The pattern instructions tell you how much of everything and how to construct.
 |
| My messy workspace showing the things needed to make masks |

My cloths ( filters) were very hard to find which is weird, but perhaps its because everyone is buying them for masks. Most supermarkets had sold out. I asked a customer services person in Sainsburys and they found me 2 packs which I bought.

There is another type of cloth can also be used. This is softer and like vacuum filter material. I am not sure you can see well here. I bought some of these since then - they are also from Sainsburys and are multi purpose washing up cloths. These are much softer but the mask stays in shape and away from your mouth less well. Its probably personal preferance as to which is best.


I
zigzagged the two halves of my filter together to make the insert. Its hard to get this to sew even with a walking foot which I used because it was already attached to the machine and I thought it might help. I had to go very slowly and ease it through the machine but even then its pretty badly sewn due to it being o difficult. This is the foam type of cloth though. The vacuum filter type was easier. Then you cut off
the excess.
In fact to get these into the masks was very difficult and I had
to cut them down a lot more than the directions say. The picture shows it cut to the pattern instructions!
 |
| Insert for Mask 1 |
Because Mask 2 takes a smaller rectangular insert you can actually get two of Mask 2 and two of Mask 1 out of two cloths which makes it worth making both types of mask.
 |
| Insert for Mask 2 - the rectangle that is drawn on the cloth |
These kind of masks are washable and you need to wash after every
wearing so I
decided to aim to make 10. Thats 5 each for two people for our work days and assumes
that the mask worn on a Monday is reuseable for the weekend. To wash you
have to dismantle them - so take out the inner filter and the wire that
is used as a top shaping for the bridge of the nose. Even in
winter, when its hard to dry things, that should be do-able with 10 masks
between 2 of us. Though having done this for a week now I am going to try washing these with the filter in place ad see what happens.

Really, we need at least 10
masks between us and if I can manage it 10 each so we can change during
lunchtime because if you end up using a dirty mask its probably not
worth bothering is it?
Or at least I suppose legally we would be OK and
not get fined by the police for non-compliance, but I prefer to take this
seriously and try not to die just yet.

Congrats
to those people who have been making hundeds of these for charity. I
really cannot make that many. I am finding I must force myself to make what we actually need. By
mask number four I was ready to stop. I will make some more in the next
few days because we need them but I am obviously not the kind of person
who makes things over and over. I never realised that till now I must
admit so its interesting to discover stuff like this about myself. Sewing for the sake of it I obviously find
boring. I need different things to sew to keep going. Still this job is
essential and I
must continue.
I suppose thats really the issue isn't it. I need to make these so its like working and doing it is not fun anymore. Really sewing these, at least after figuring out how the first mask
goes together, does not engage the brain enough to be at all
interesting.
I never really analysed this before but I
sew because its like a puzzle to be solved. I do not like crossword
puzzles or jigsaw puzzles but I love figuring out how garments and even
parasols go together o how to cut them from the amount f farbric I have which often means ignoring the cutting diagrams.
Of
course there are some patterns - those TNT ones - I do because for
example I just need another top or leggings and I know they fit. These
are safe and tried and tested of course so they get redone. They are
very easy because I have made these so often I do not need to think
really but even then I rarely if ever make more than 2 at a time. I have
a break and make something else and I do lots of new patterns all the
time and this is because it keeps my brain engaged and its interesting,
even when I have to unpick something 10 times, its still good and
weirdly fun to do. I am sure all sewists understand this though. Or at
least those who sew all the time rather than just a couple of dresses a
year.
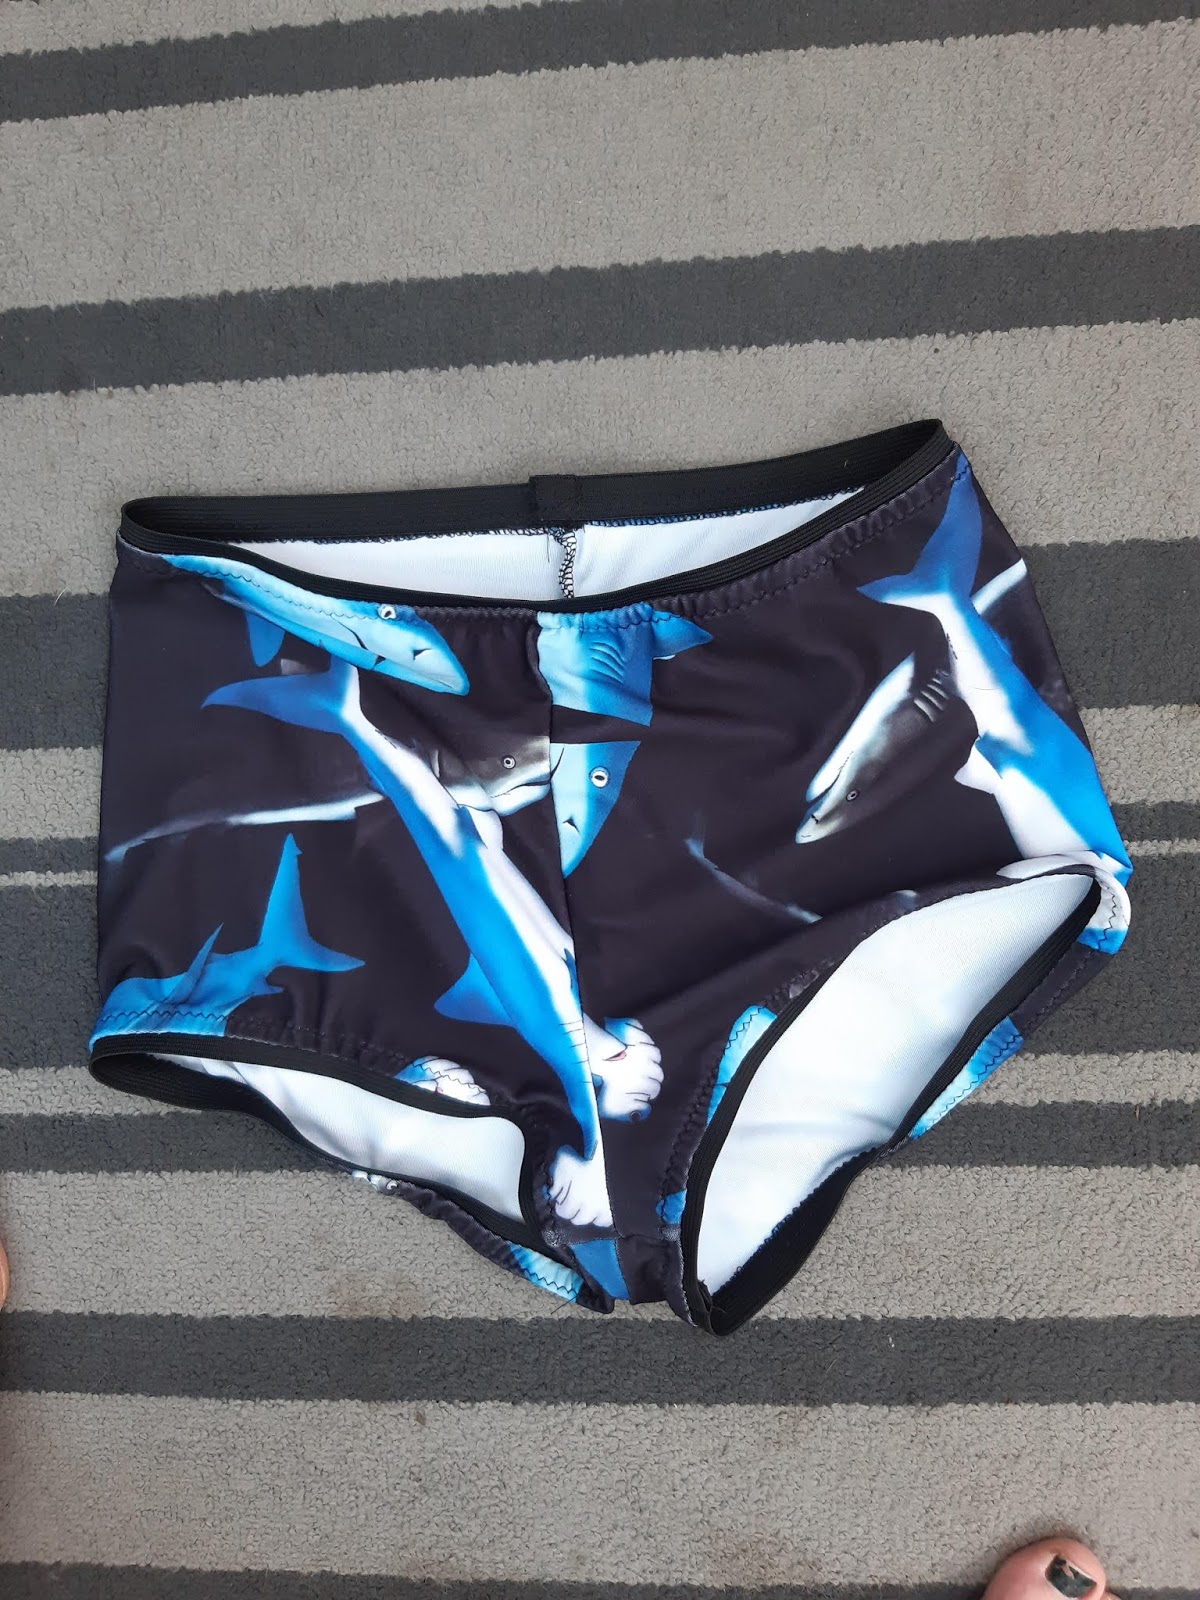
Even the skull fabric mask does not really make it more interesting to do this although wearing this for work seems to appeal to Mick very much.
I am intending to make more of skull fabric masks for us both. The rest are just made from whatever interesting fabric bits left over from all sorts of different makes. I tend to keep small bits for pockets so these are perfect for these masks. All have a nice contrasting lining - just because why not. I did consider using white fabric because it looks cleaner but why not have a bit of fun. I hate wearing a mask though from working with nano particles I am used to that. I did think having left lab jobs behind I would never have to wear one again.
I will make more masks eventually but I need a break from this. I really need to make another six for two weeks time.
I actually have four masks cut out and ready to sew of Burda Style mask 2 but its not going to happen today. I need some elastic which I have ordered, because I only keep a few metres of 0.5mm wide elastic in stock and have run out. I notice the Ebay elastic prices for this width of elastic have shot up as well! Supply and demand I suppose. At least it will help keep some small businesses going anyway.

So this is actually only half of my Mask project. I will do another post when I get my elastic because the second type of mask is actually a different design.
I have no idea which works best yet but the design here - Mask 1 - works very well and has already been worn and washed and put back together.
I have been told many people prefer the softer Mask 2 design by someone who has made lots of them so I will see and let you know.
I suspect we may be wearing these for some time yet but hopefully not forever.
Take care and stay safe
Bracken